


If you’re deciding between a traditional manual chain backdrop system and an electric backdrop system, don’t hesitate—go for the electric one. It’s a game-changer for any photography studio, offering convenience, speed, and precision at the touch of a button. However, not all electric systems are created equal, and choosing the right one can make a significant difference in your workflow. At first glance, most electric backdrop systems might appear nearly identical, with the only obvious difference being the design of the remote control. But beneath the surface, their functionality and performance can vary greatly, with one often proving far superior to the other. In this article, I’ll break down the subtle yet crucial differences to help you make an informed decision and invest in the system that best suits your studio’s needs.
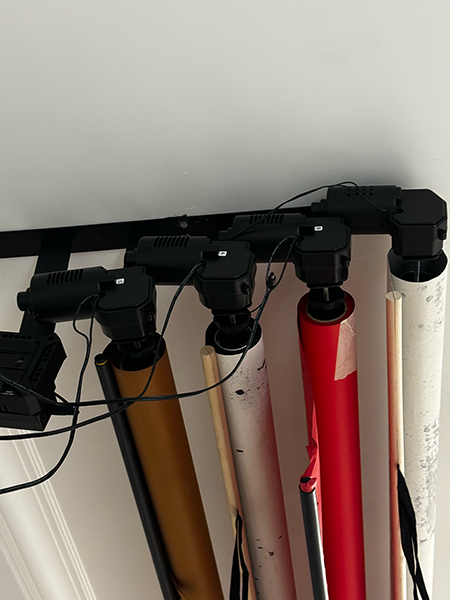
In my studio, I currently have two electric backdrop systems: one is six years old, and the other is just six months old. Surprisingly, the older system has proven to be much better in terms of performance and reliability. Both systems are ceiling-mounted and designed to hold up to six backdrops, but I typically use only four backdrops on each. Over the years, I’ve tested them with a variety of materials, including paper backdrops, Savage paper rolls, and hand-painted canvases of different thicknesses and weights. Despite their similar installation and capacity, the differences in quality and functionality between the two systems have become increasingly apparent, reinforcing the importance of choosing the right electric backdrop system for your studio.
Both electric backdrop systems in my studio are officially non-branded, but there’s a subtle distinction: one of them has a brand name printed on the remote, while the other is completely generic. Despite this minor difference, neither system is tied to a well-known manufacturer, which can make it challenging to compare their quality at first glance. However, the presence of a name on the remote doesn’t necessarily indicate better performance or reliability—it’s the functionality and durability of the system itself that matter most. This underscores the need to look beyond surface-level branding and focus on how the system performs in a real studio setting.
SO WHICH MOTORISED ELECTRIC BACKDROP SYSTEM CHOOSE?
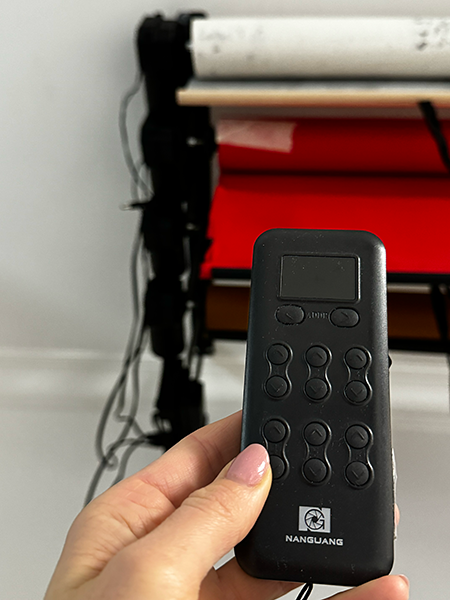
When choosing an electric backdrop system, I highly recommend opting for the motorized system with the black remote bearing the “Nanguang” name. This system stands out for its durability, stable performance, and smooth operation, making it a reliable addition to any studio setup. One of its standout features is the ability to program the backdrops using wireless transmission, allowing you to assign different channels for seamless operation. This level of functionality not only adds convenience but also ensures that the system can adapt to your specific needs, especially in a busy studio environment. In my experience, it’s a solid, well-engineered choice that outperforms other non-branded alternatives. HERE IS THE LINK

Avoid choosing the electric backdrop system with the white remote. In my experience, this system proved to be unreliable and caused significant issues in my studio. The backdrop holders eventually broke into pieces, but even before that, they frequently loosened inside the tubes holding the backdrops. As a result, the rolls would spin in place, making it impossible to lower or raise the backdrops properly. Each time, I had to climb a ladder to manually tighten them, which was both frustrating and time-consuming. Additionally, the system worked inconsistently, with frequent interruptions, and struggled to lift the weight of hand-painted canvas backdrops. The motor clearly couldn’t handle the load, making this system unsuitable for professional use.
Was this helpful? If so, don’t forget to let me know! Stay tuned for more photography tips, tricks, and gear recommendations to make your studio workflow smoother and more efficient.
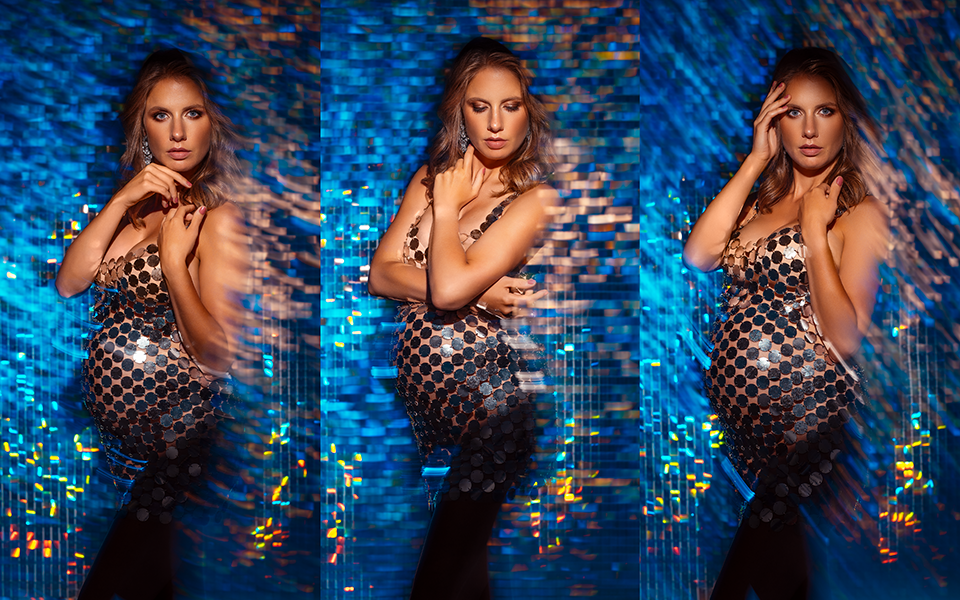
If you’re interested in exploring more photography tips and tricks and creative maternity photography techniques – posing techniques and learning how to use studio light to showcase your pregnant models in the best and most interesting way, join us for a ONLINE CREATIVE MATERNITY PHOTOGRAPHY ACADEMY.
But if you more up to personal learning experience – let me invite you to in person workshops. These workshops are available in various locations. You can find all the details here: MATERNITY WORKSHOPS.
 402 Google reviews