


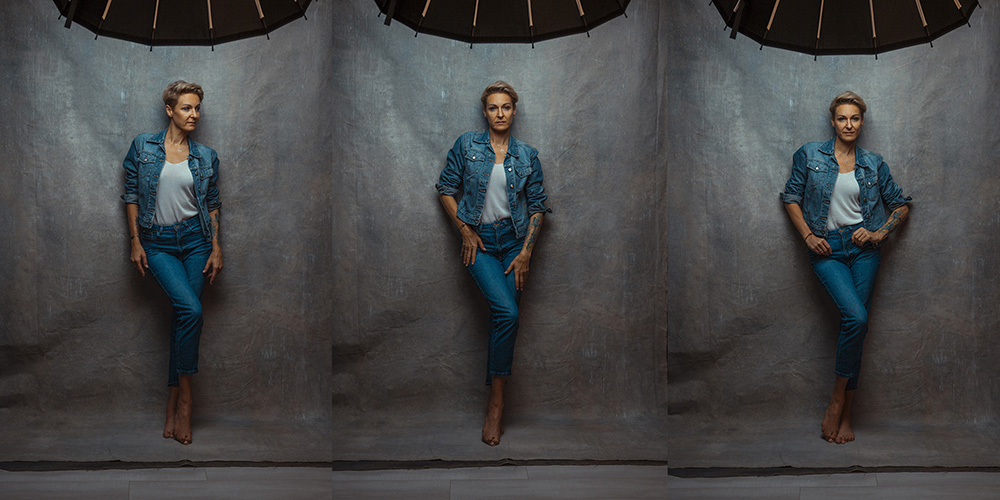
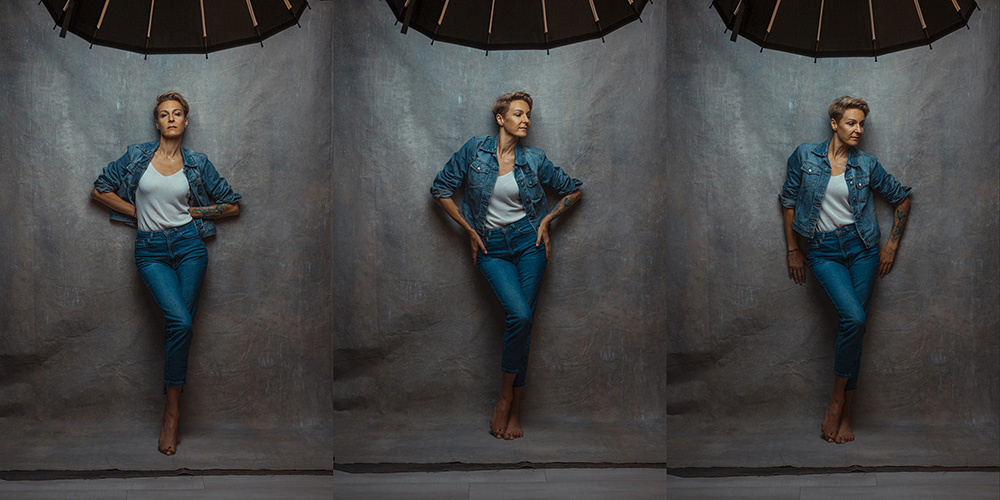
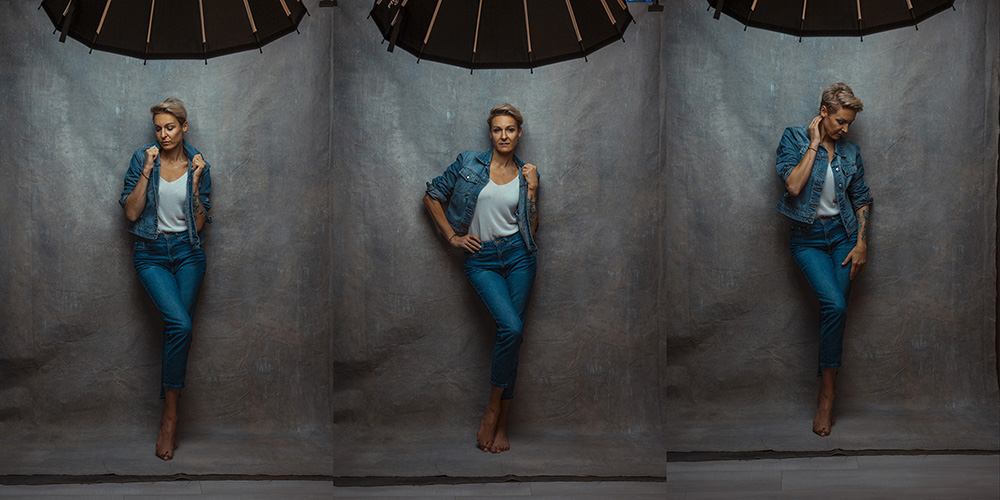
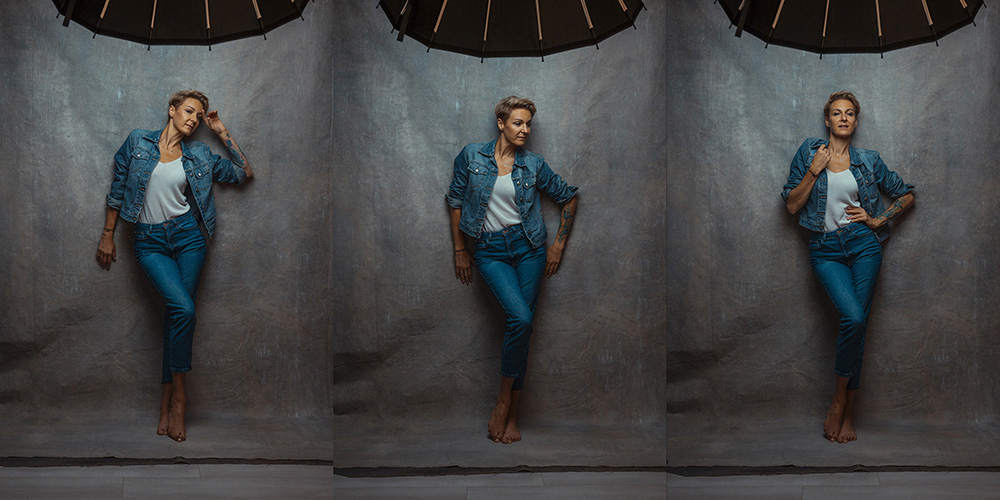
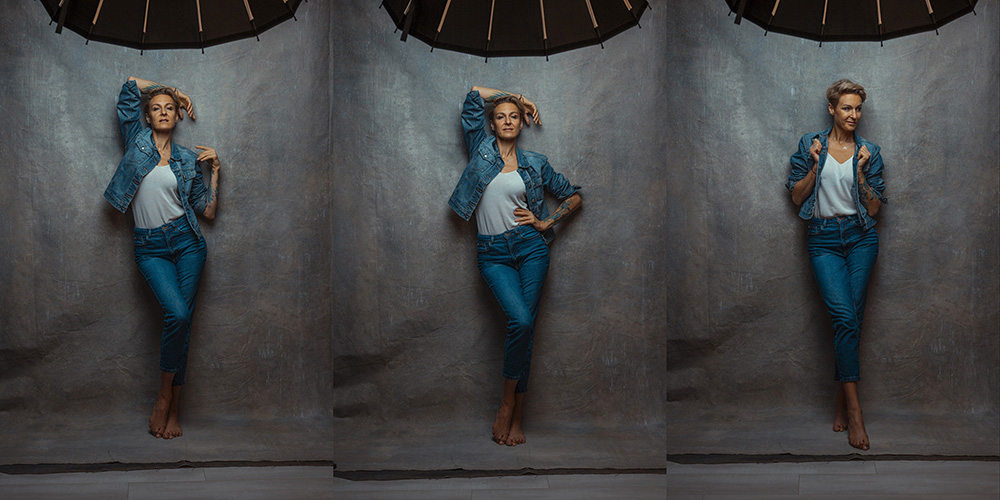
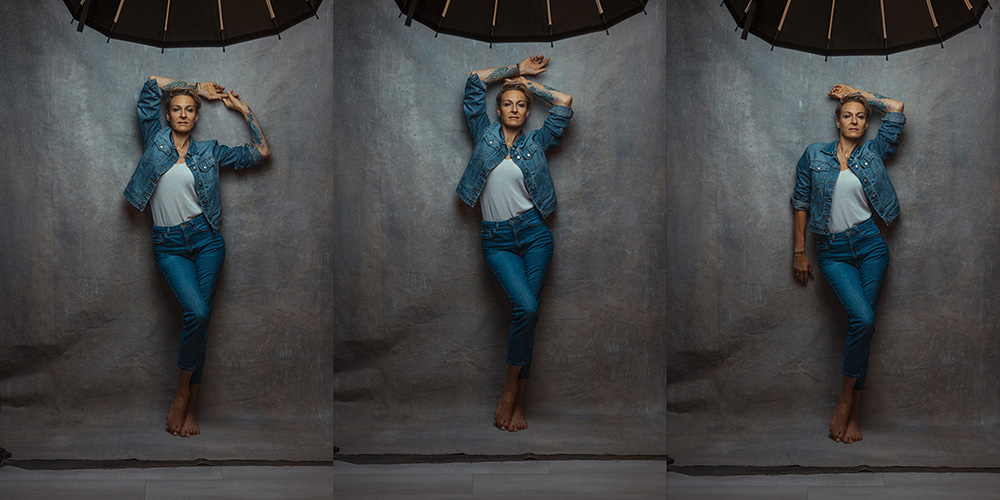
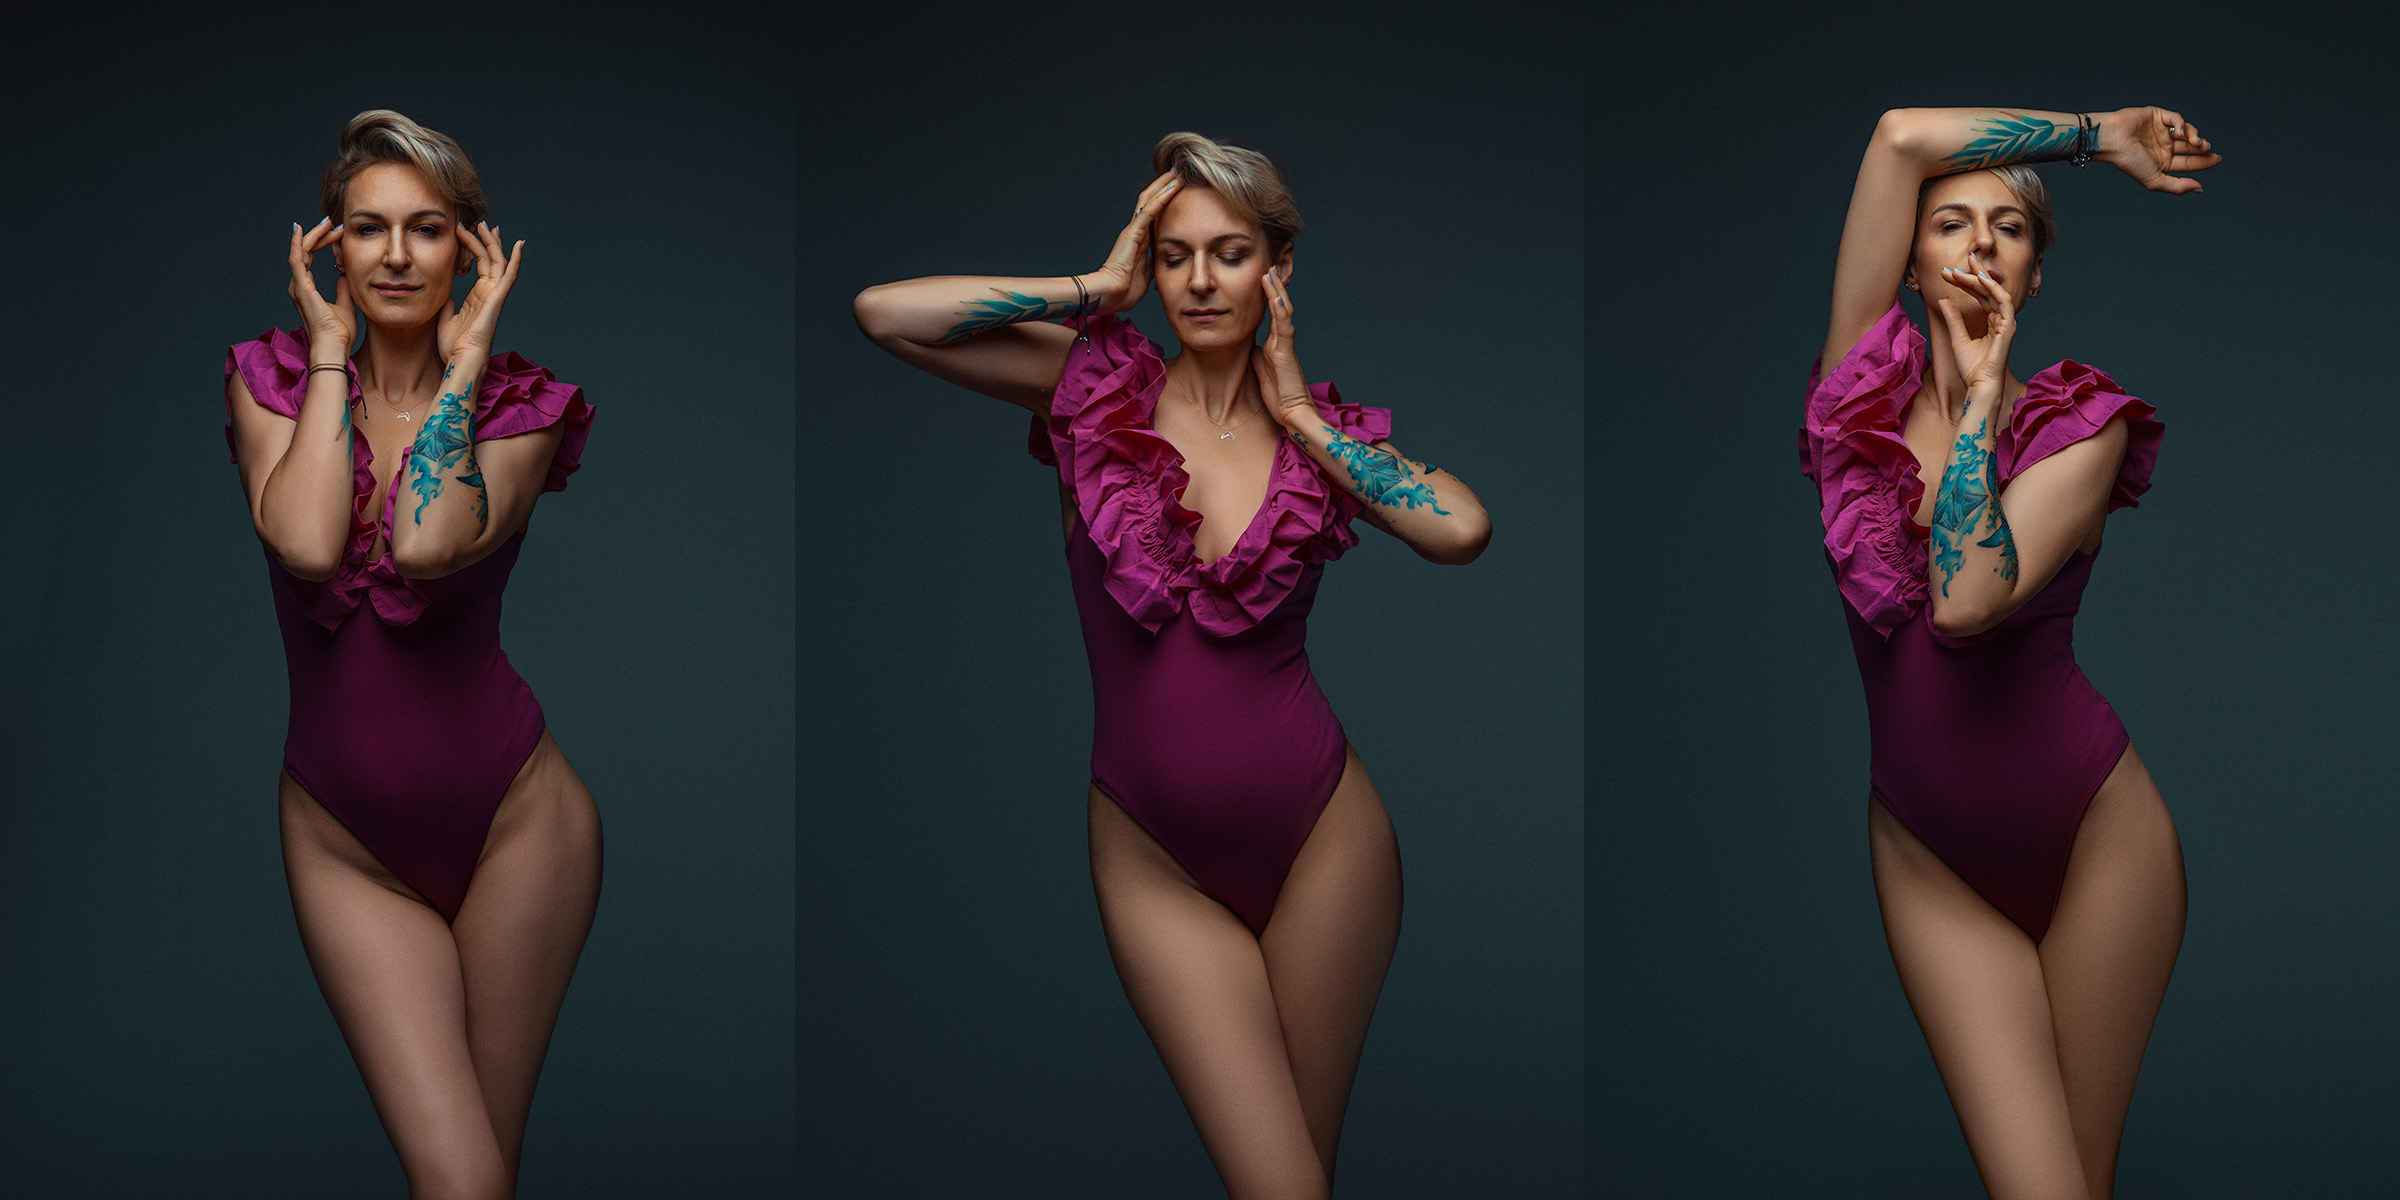
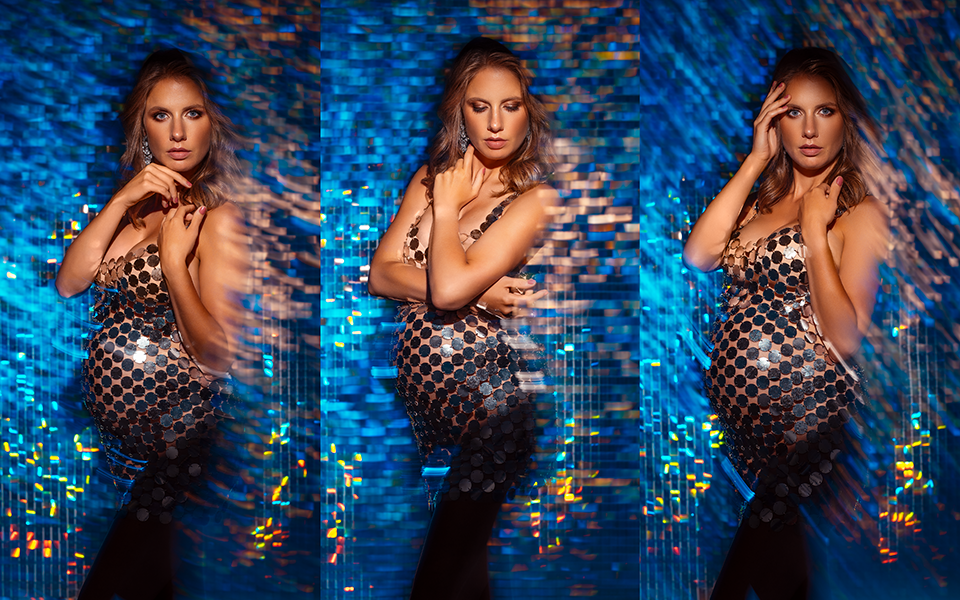
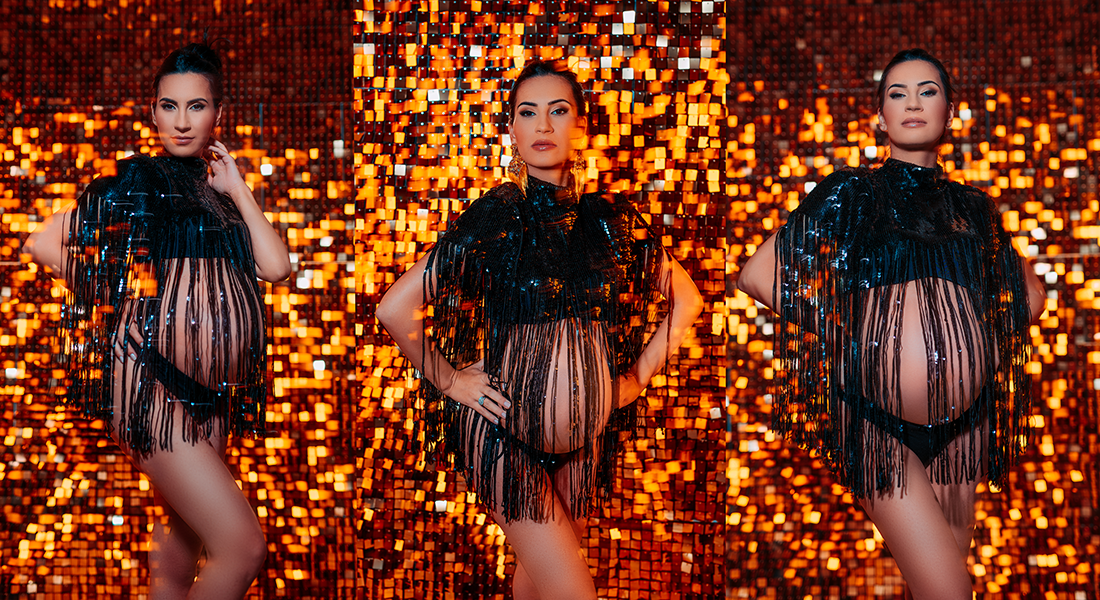
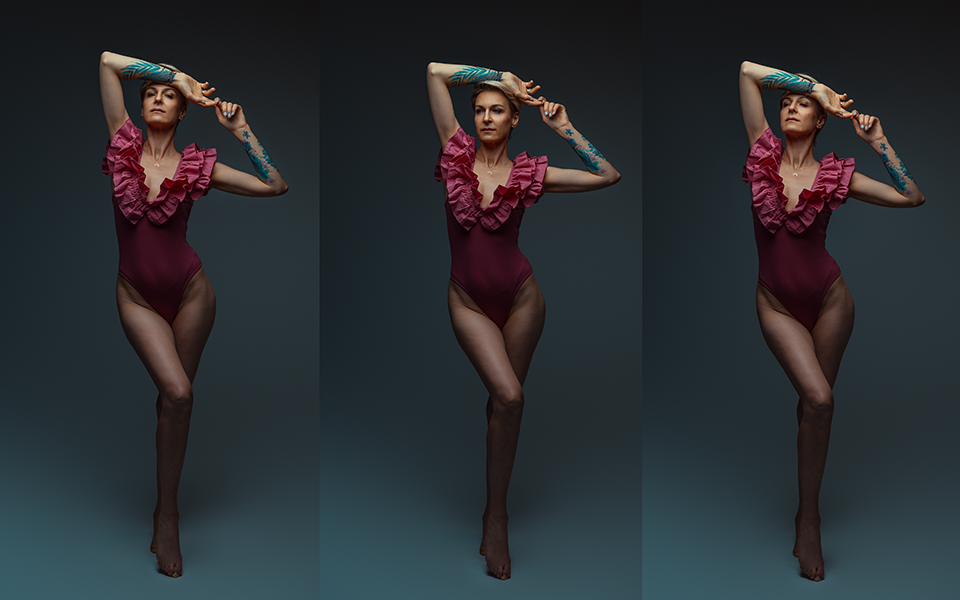
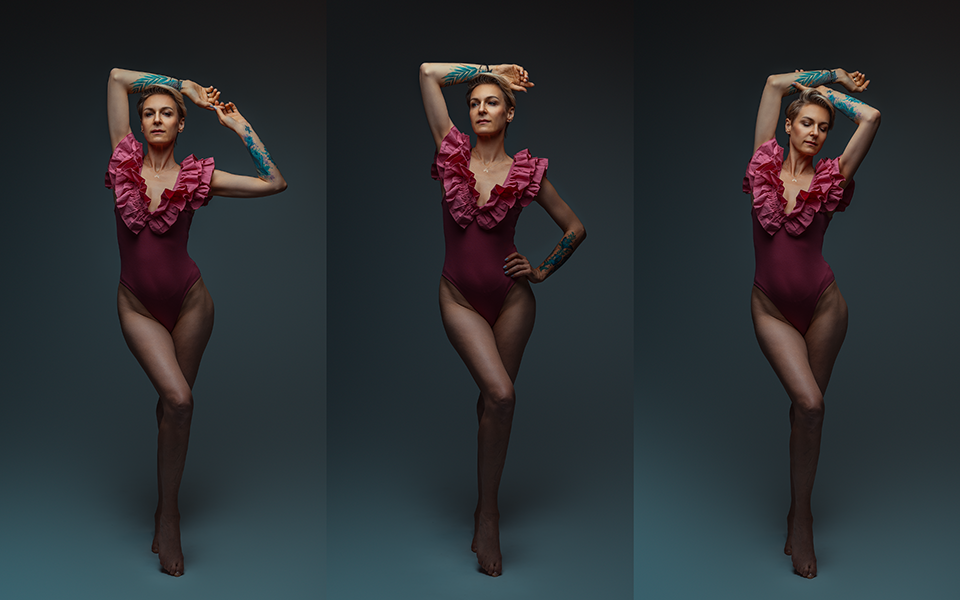
Using a wall in your photoshoots is a great way to add structure and confidence to a pose. It gives the model something to lean on, making her feel more natural while creating interesting shapes in the frame.
Start by having her rest against the wall—her back, shoulder, or even just a hand. Try different angles by shifting her weight onto one leg and slightly bending the other, resting it on her toes. This instantly adds more movement and shapes the body better.
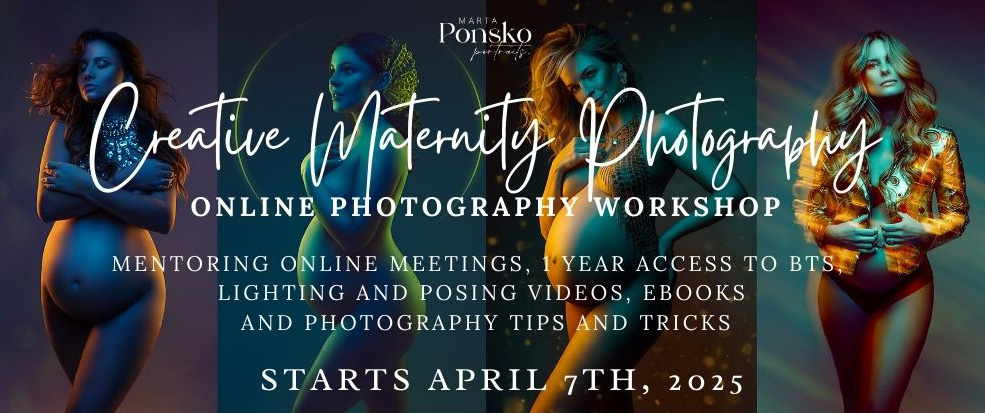
If you’re interested in exploring more posing techniques and learning how to use studio light to showcase your pregnant models in the best and most creative way, join us for a ONLINE CREATIVE MATERNITY PHOTOGRAPHY ACADEMY.
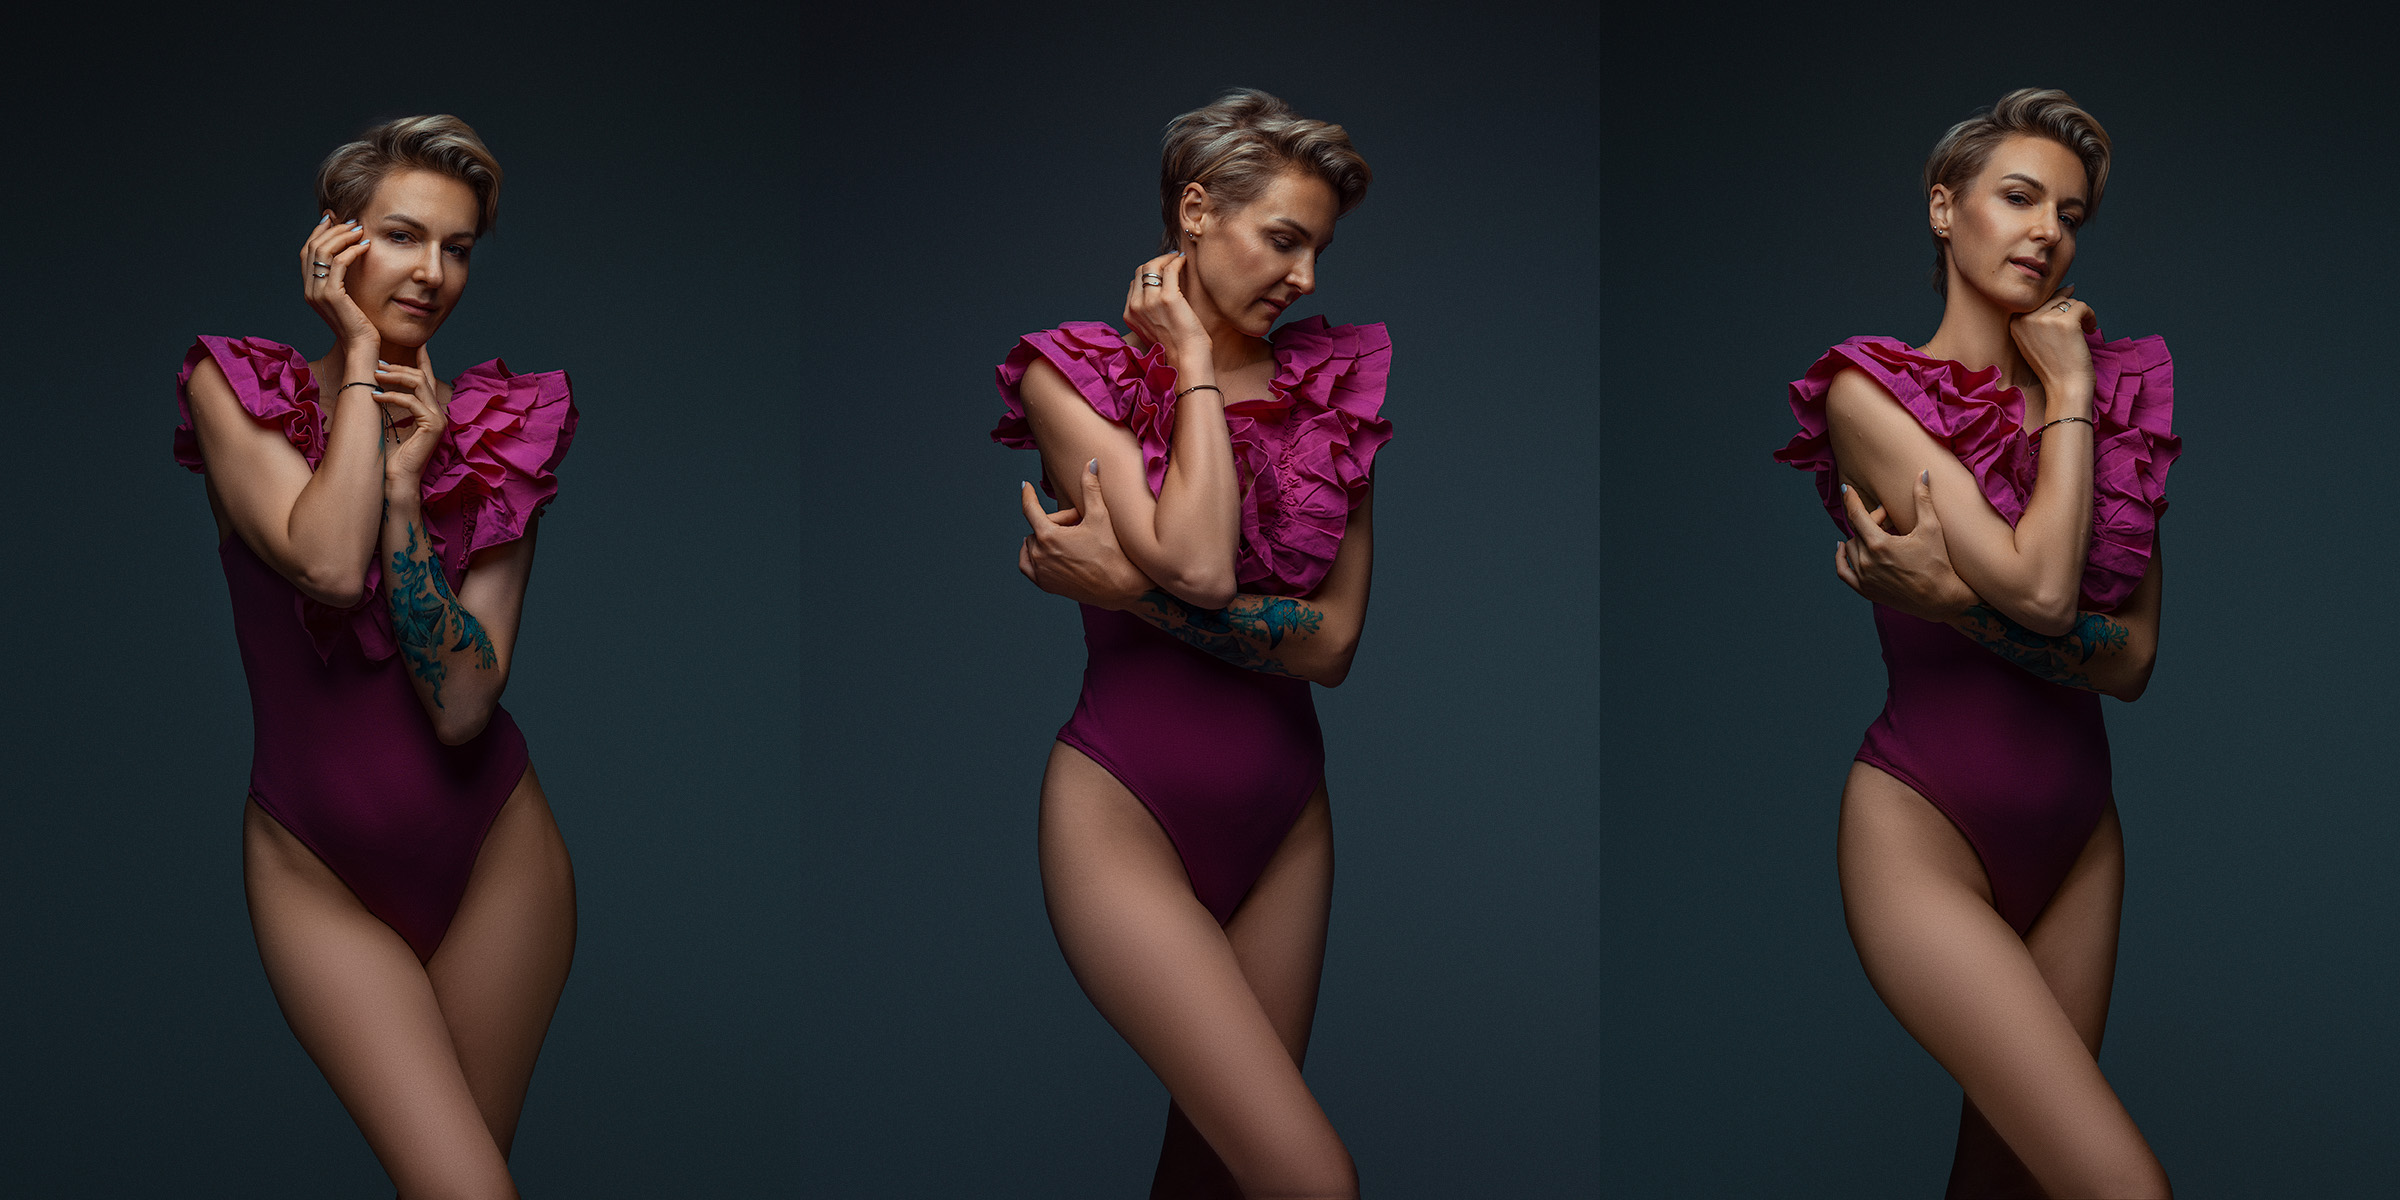
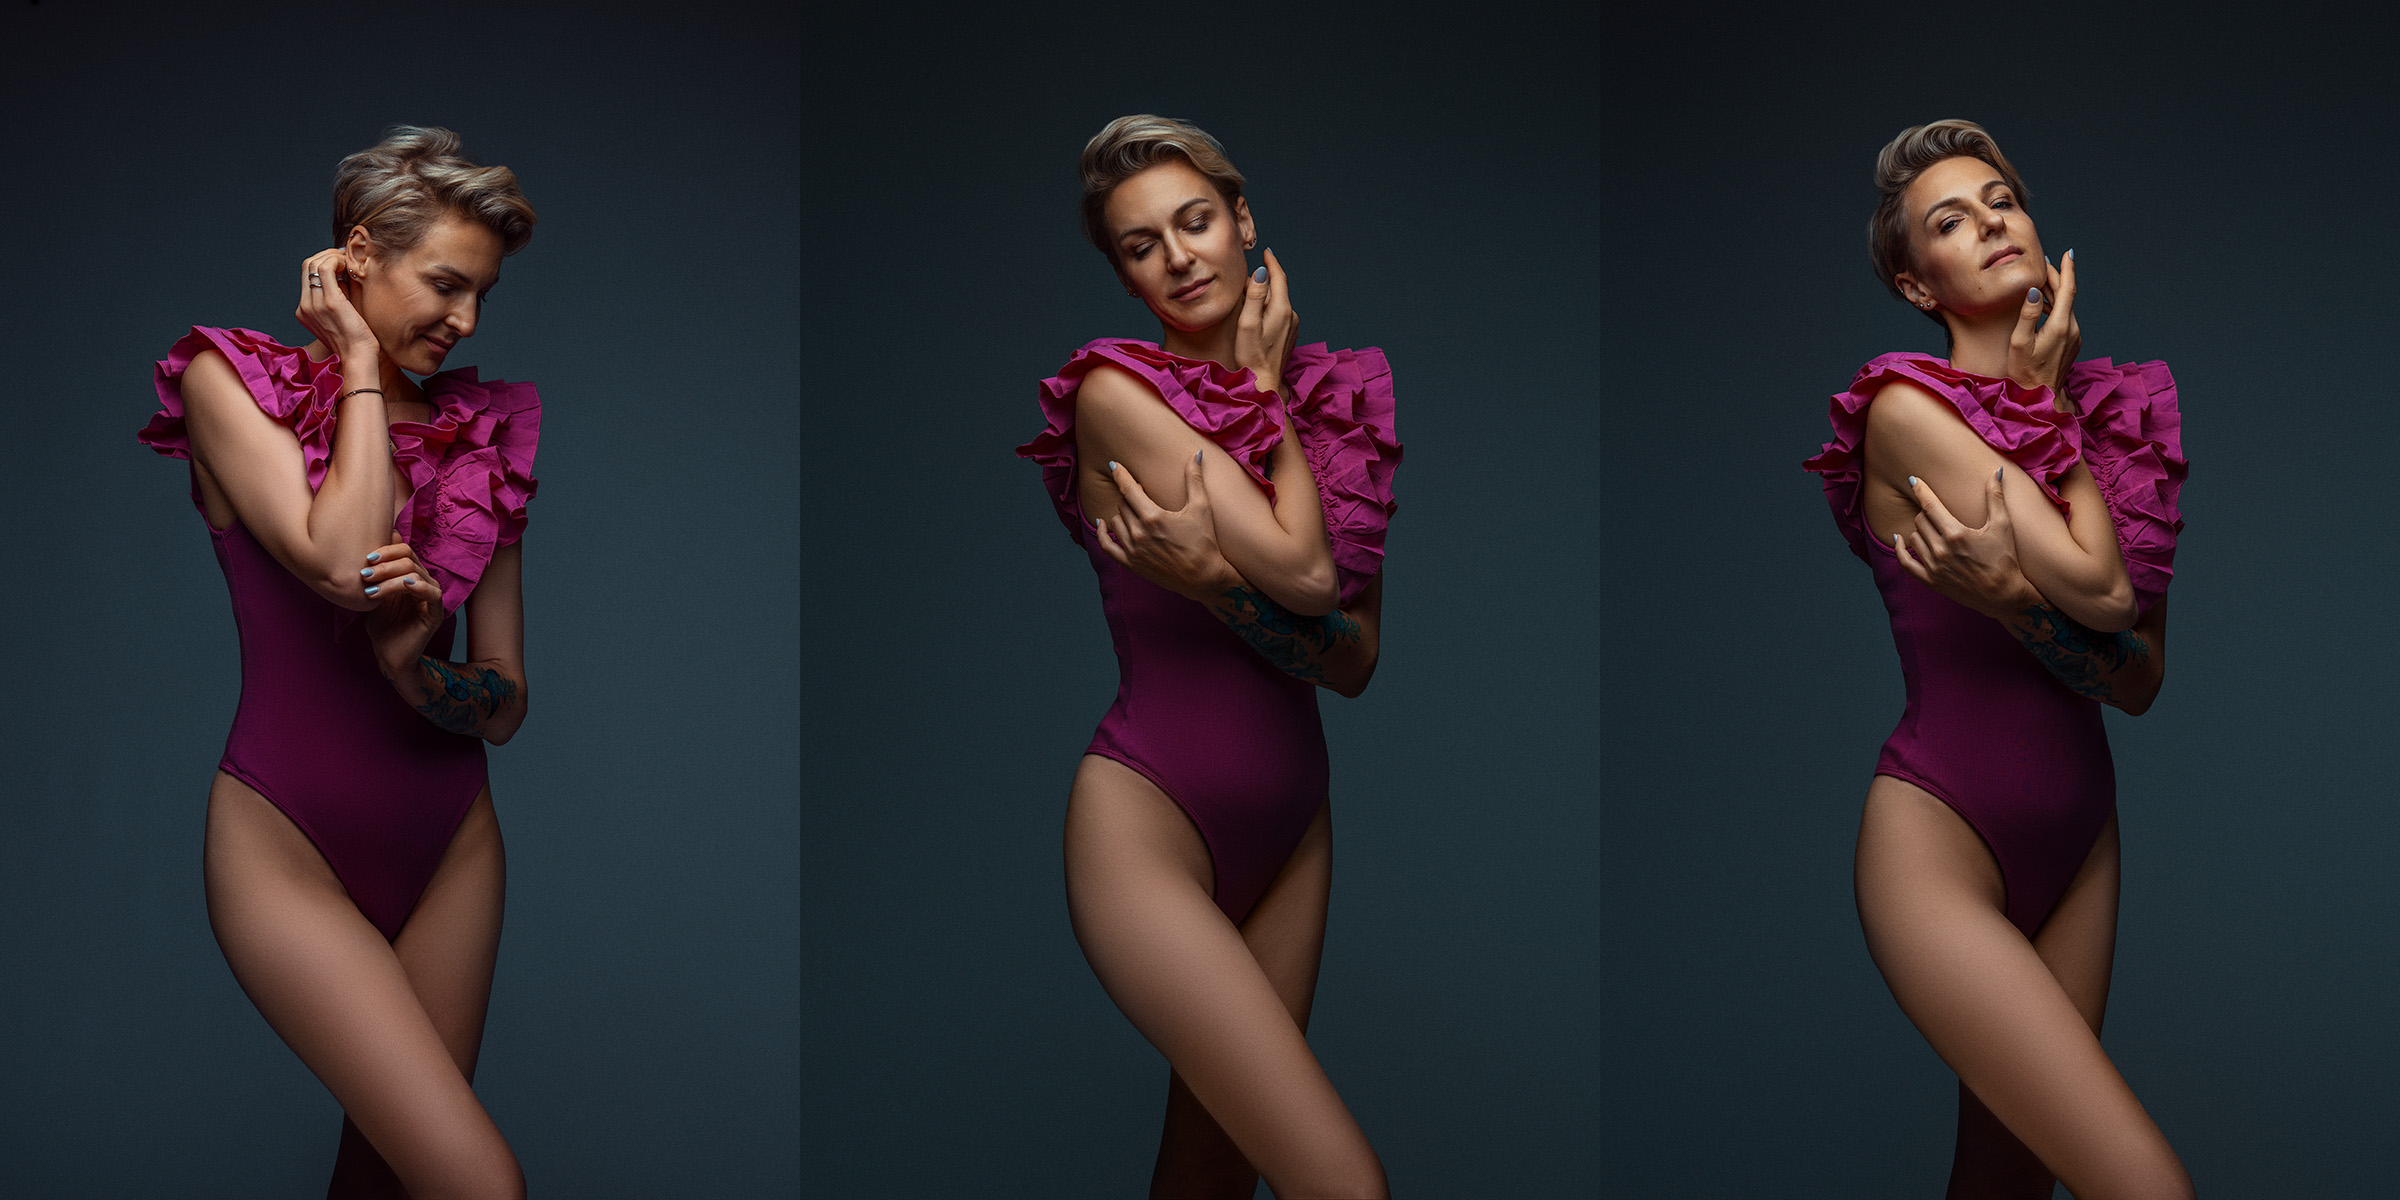
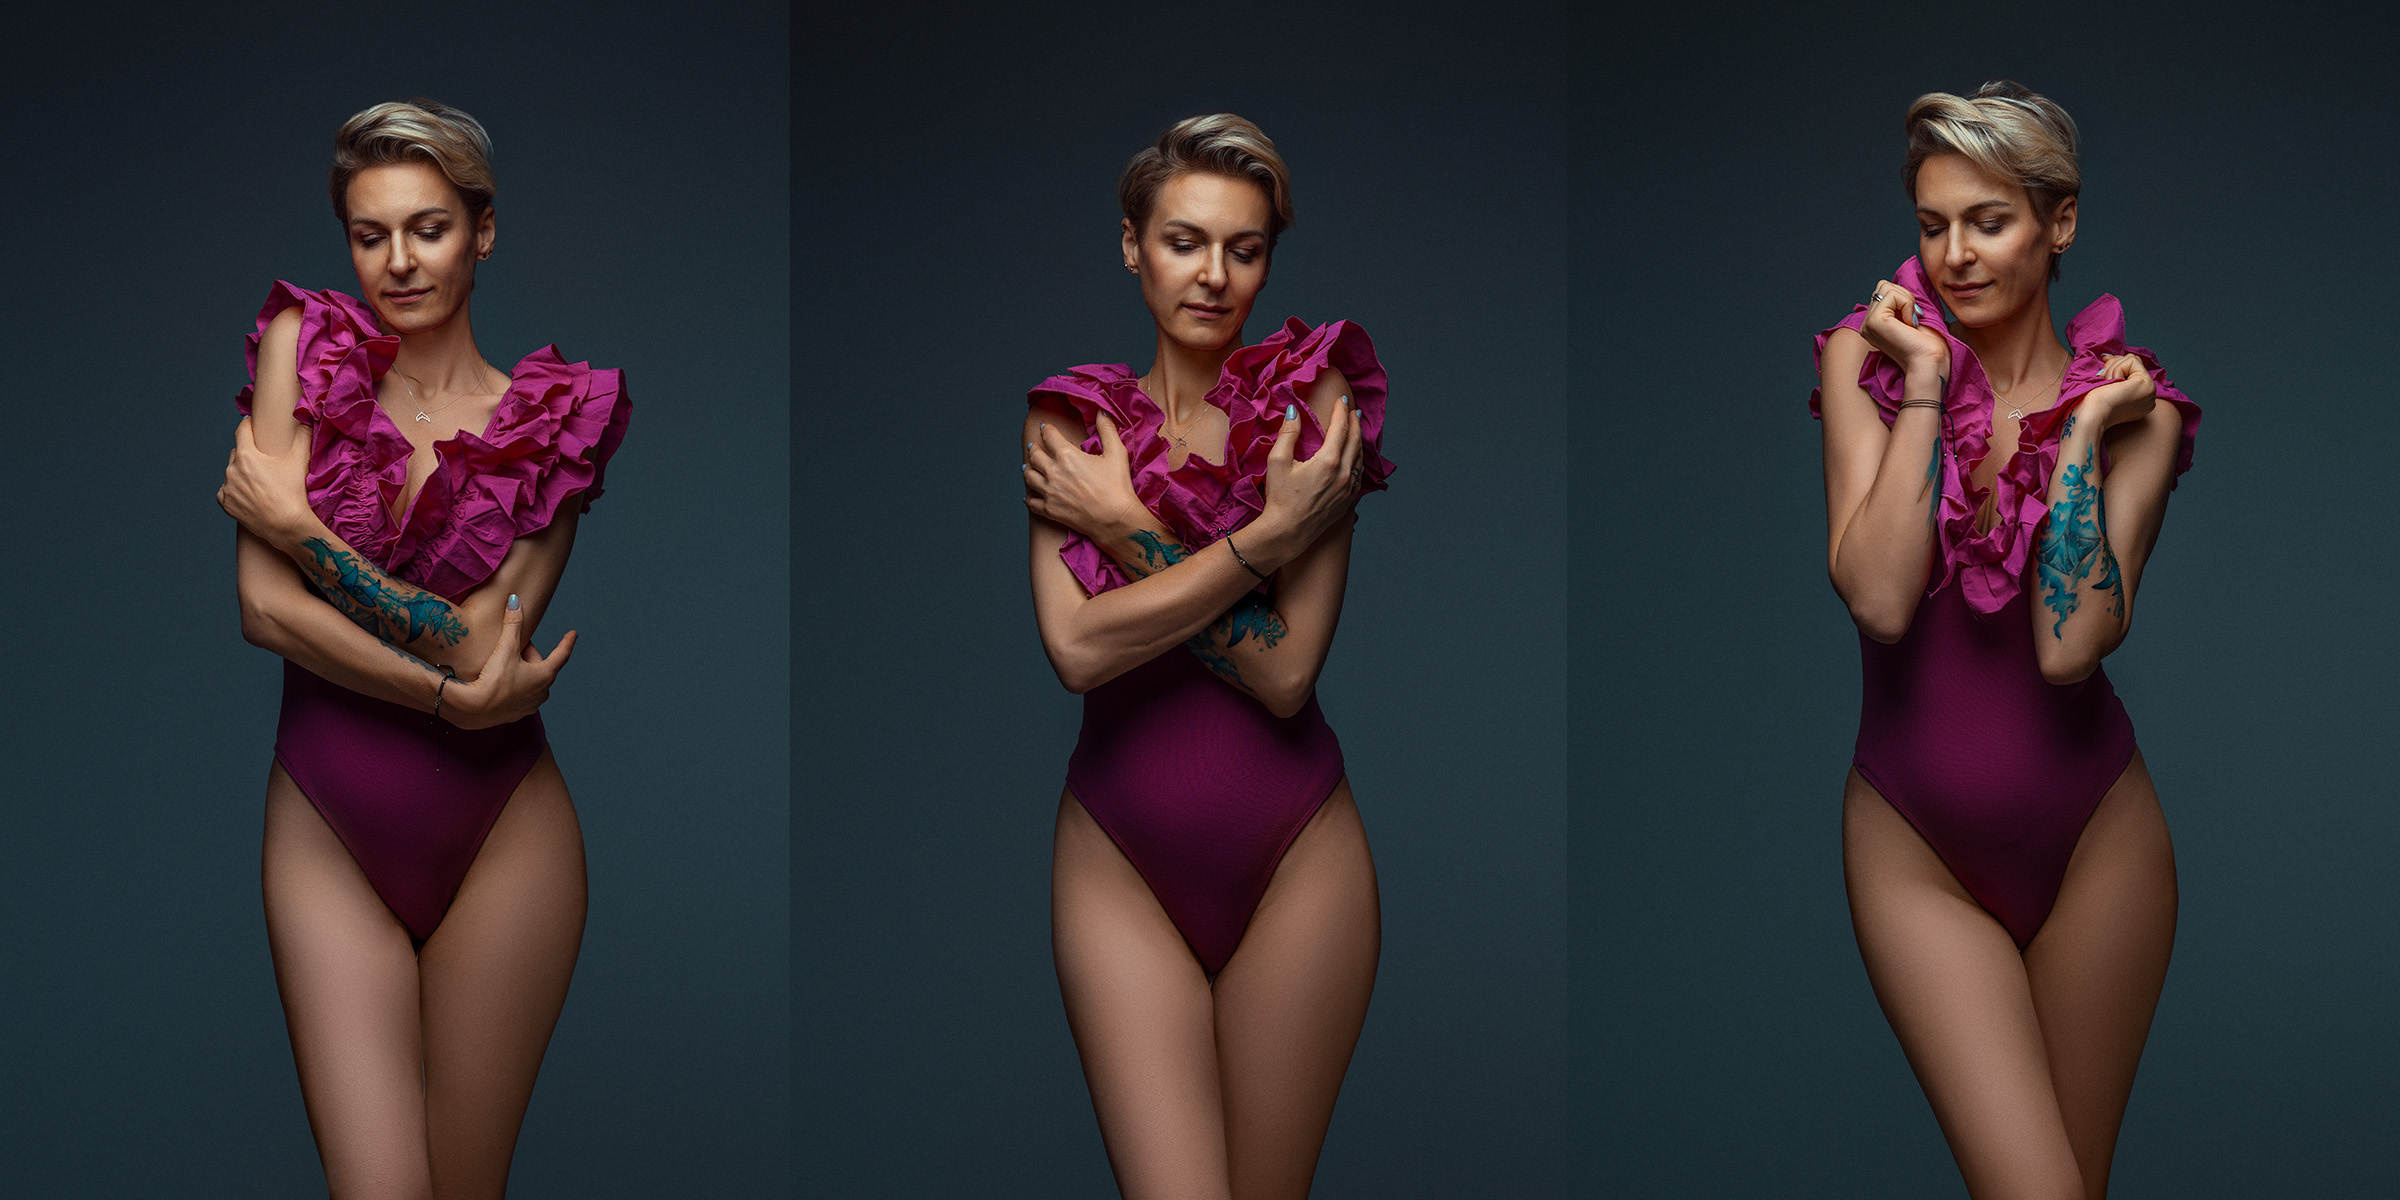
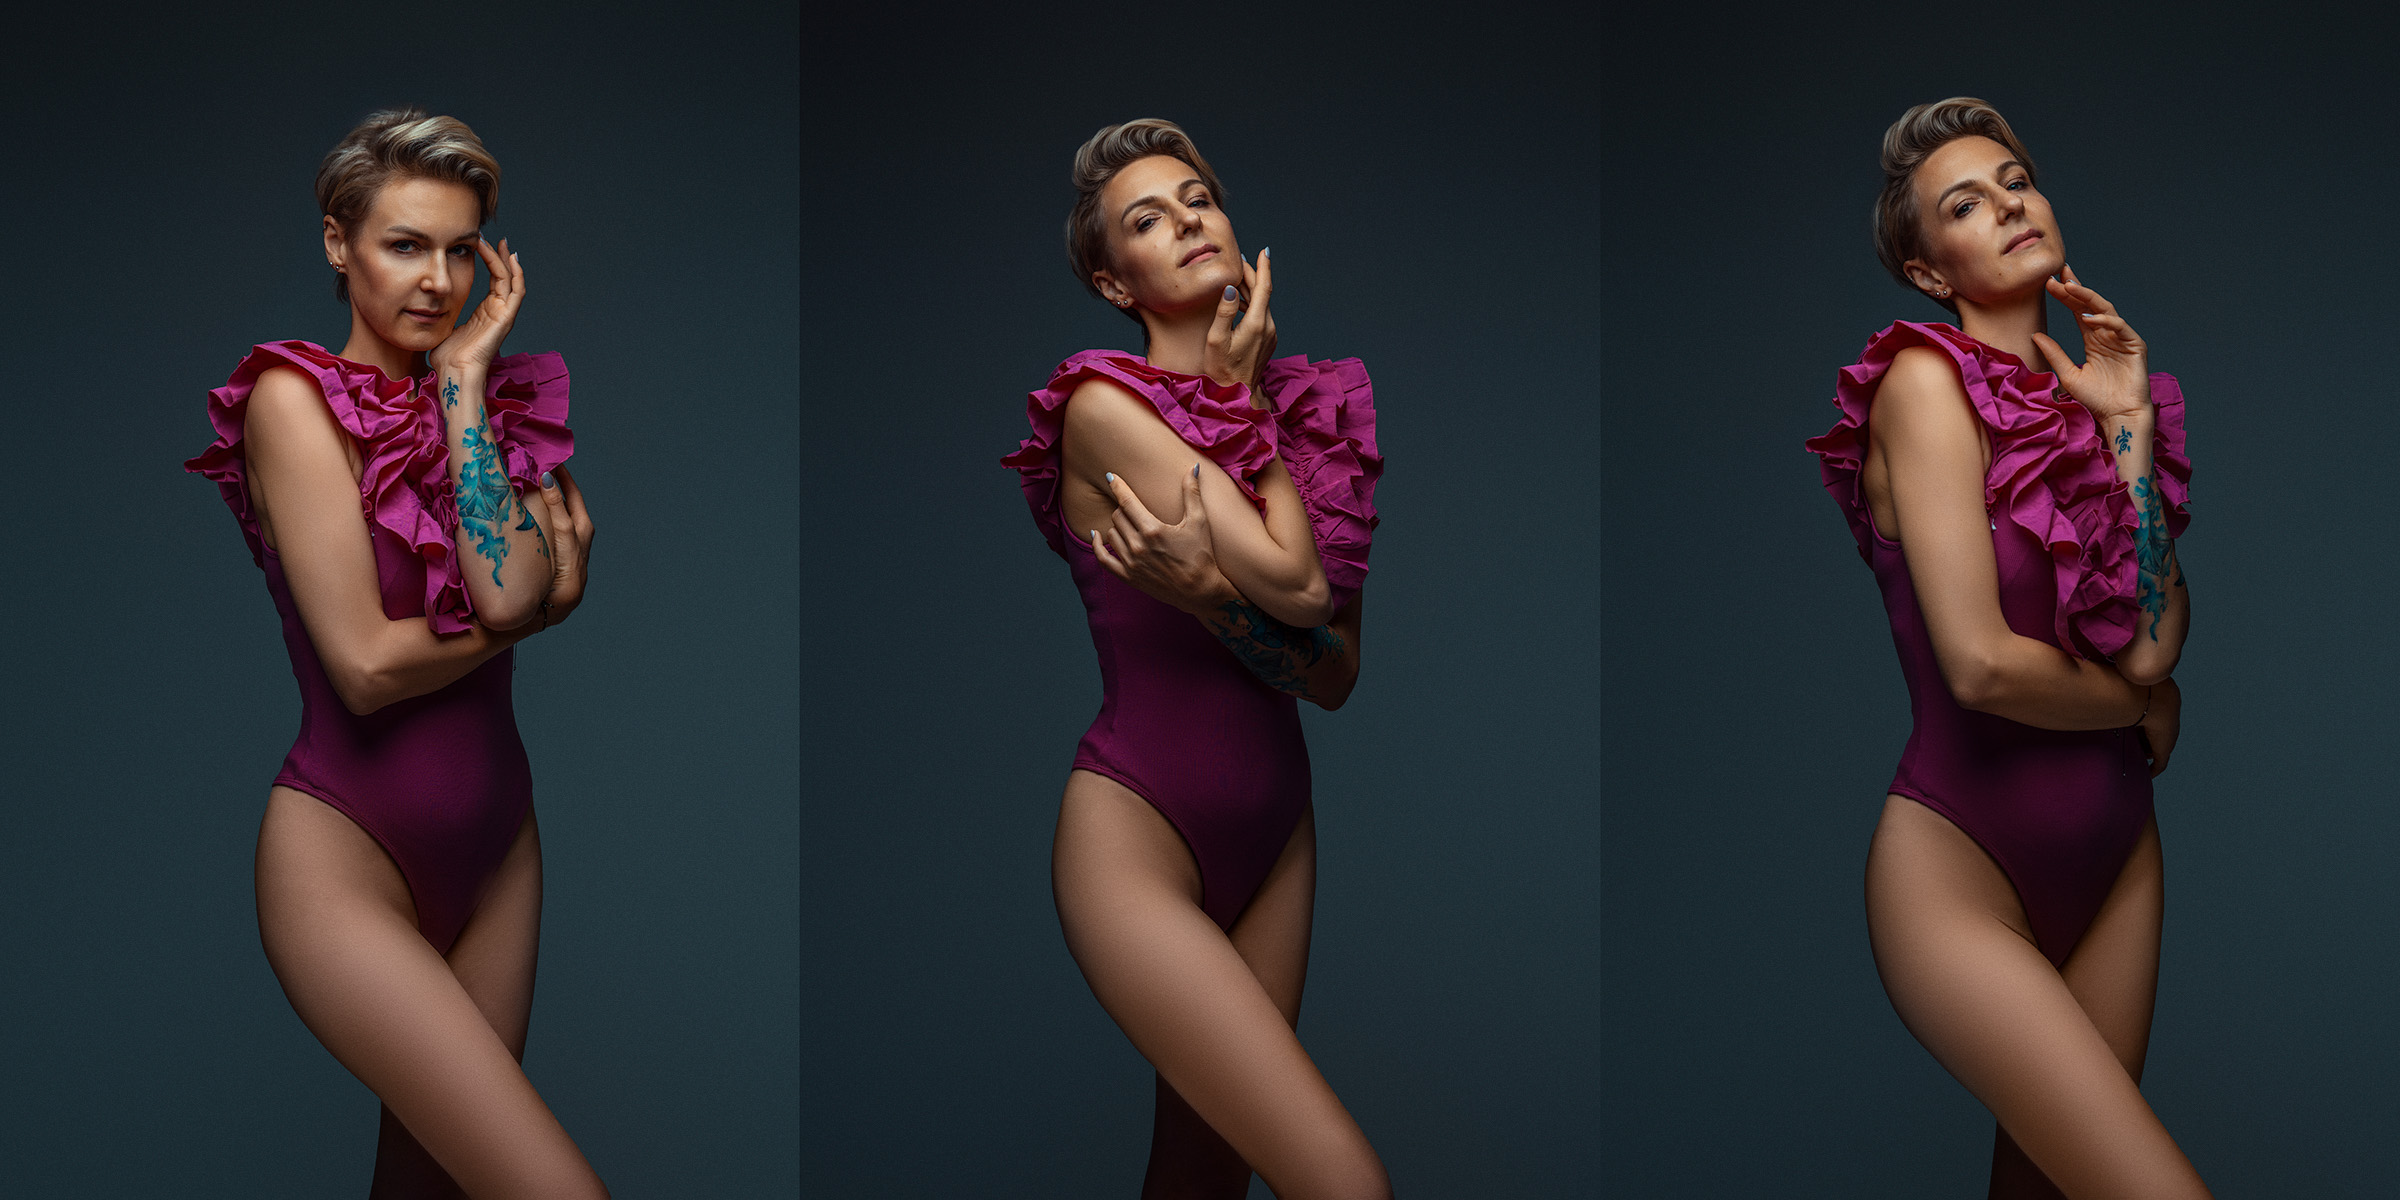
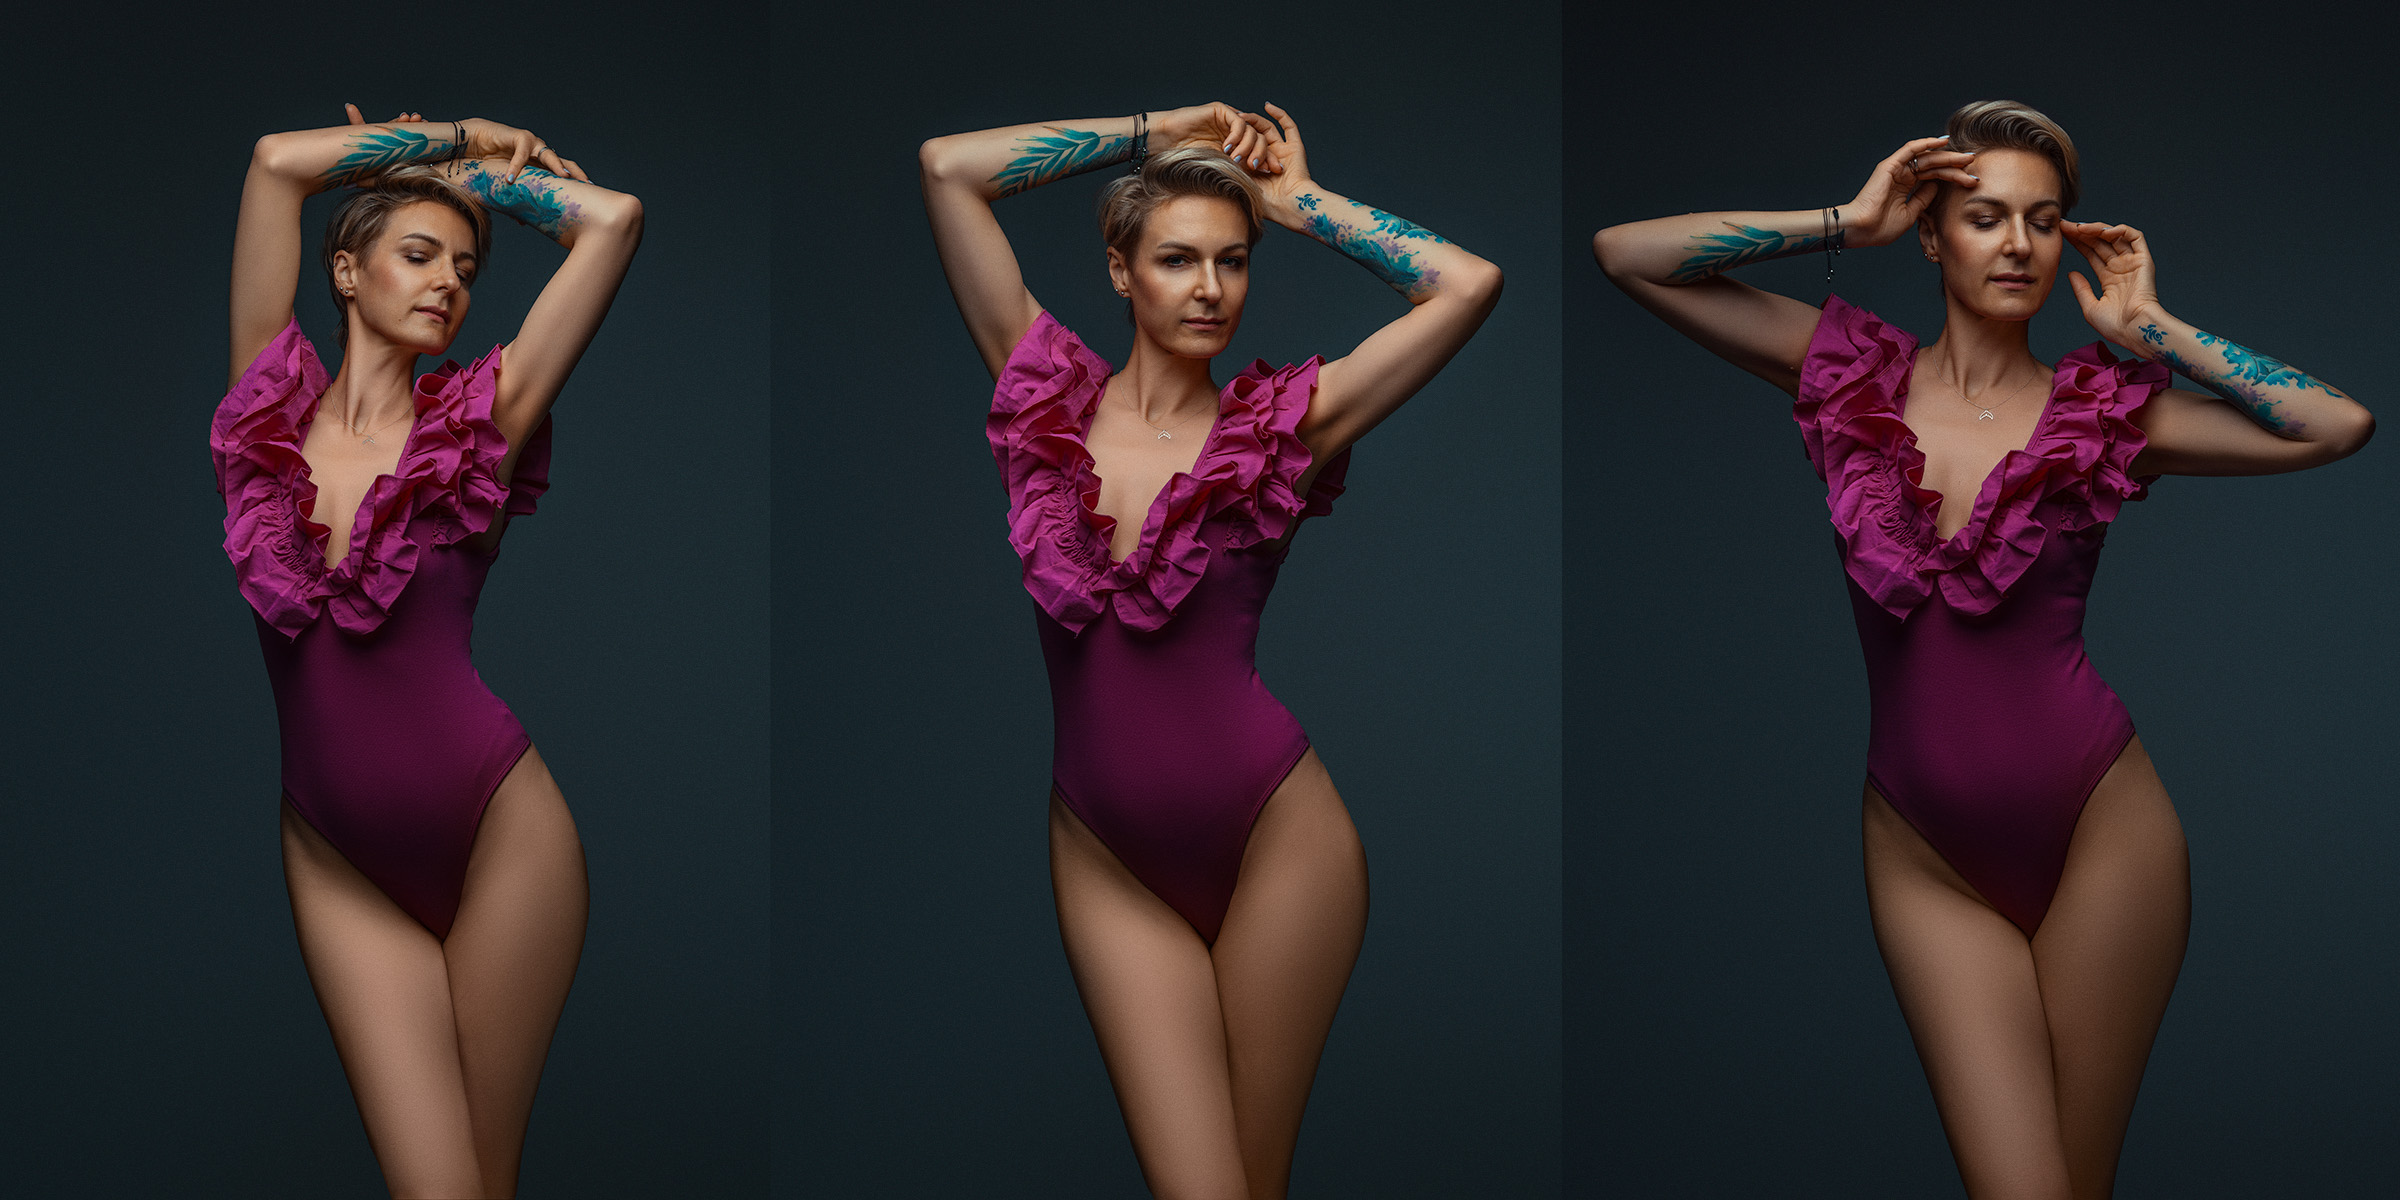
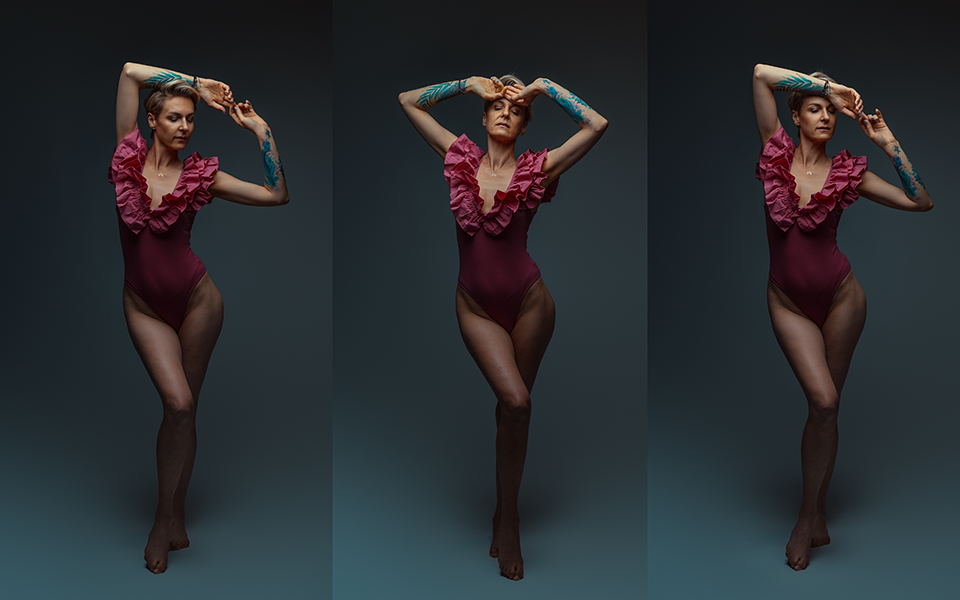
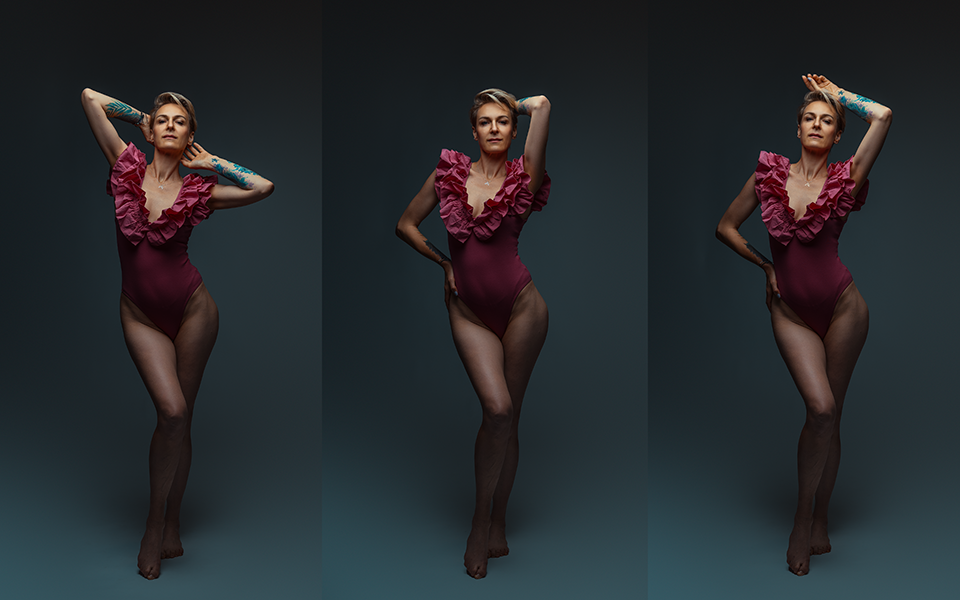
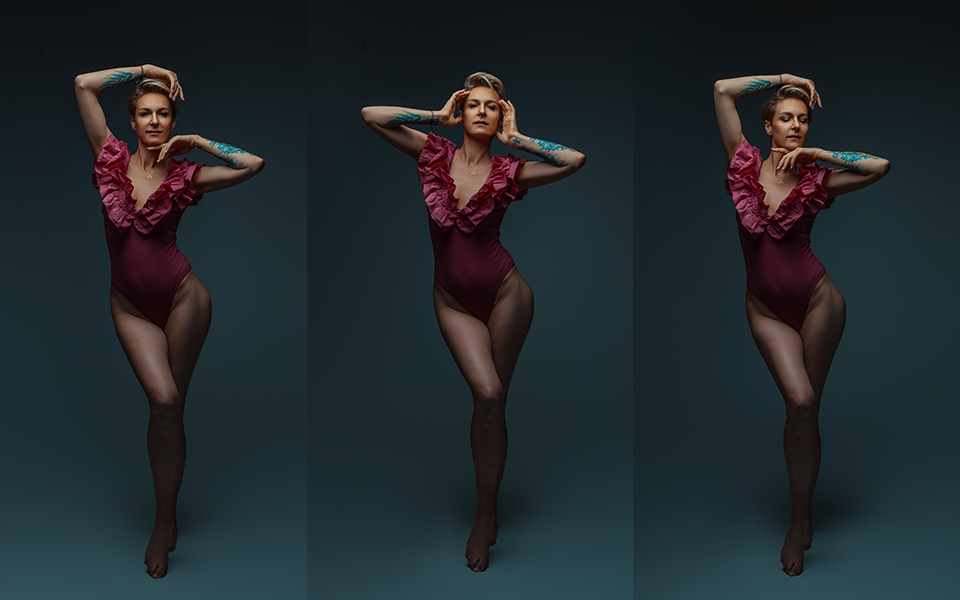
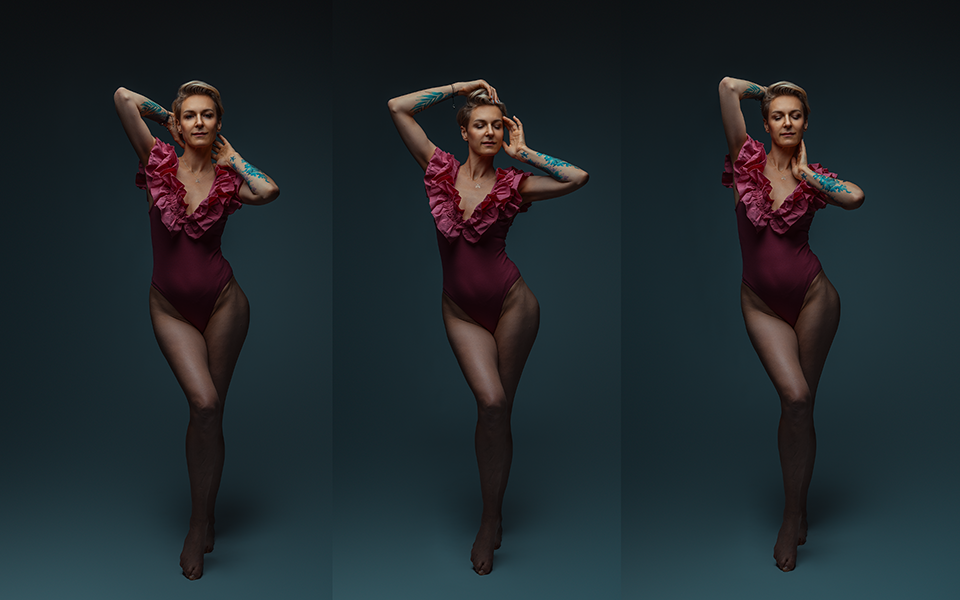
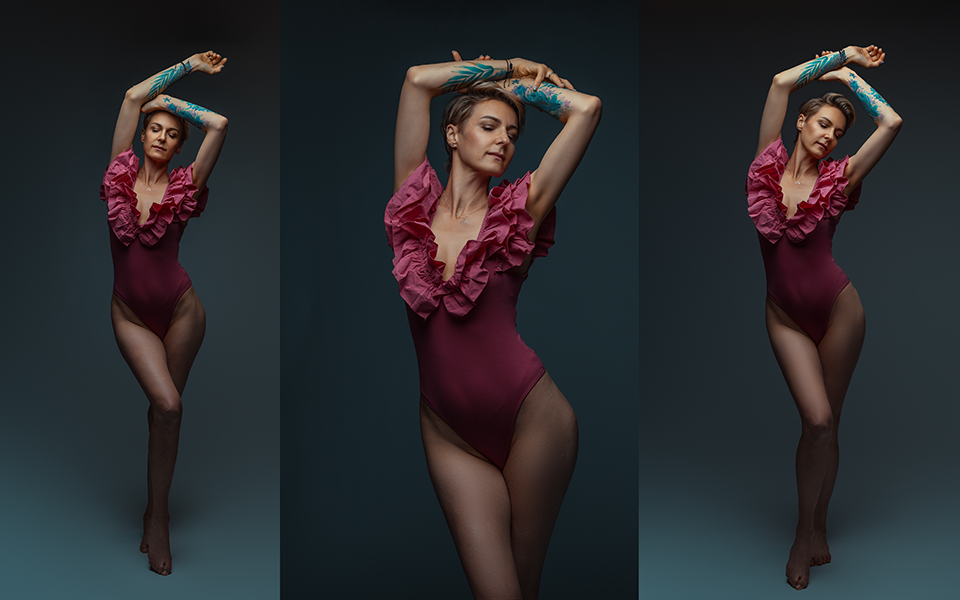
DON’T FORGET TO POSE EVERY SINGLE PART OF THE MODEL’S BODY
Hands make a big difference too—she can run fingers through her hair, rest one hand on her hip, or lightly touch the wall for a more relaxed look. The wall also helps create contrast, whether you’re going for bold, dramatic shadows or soft, natural light. Play around with lighting and negative space, and you’ll see how a simple setup can completely change the mood of a photo.
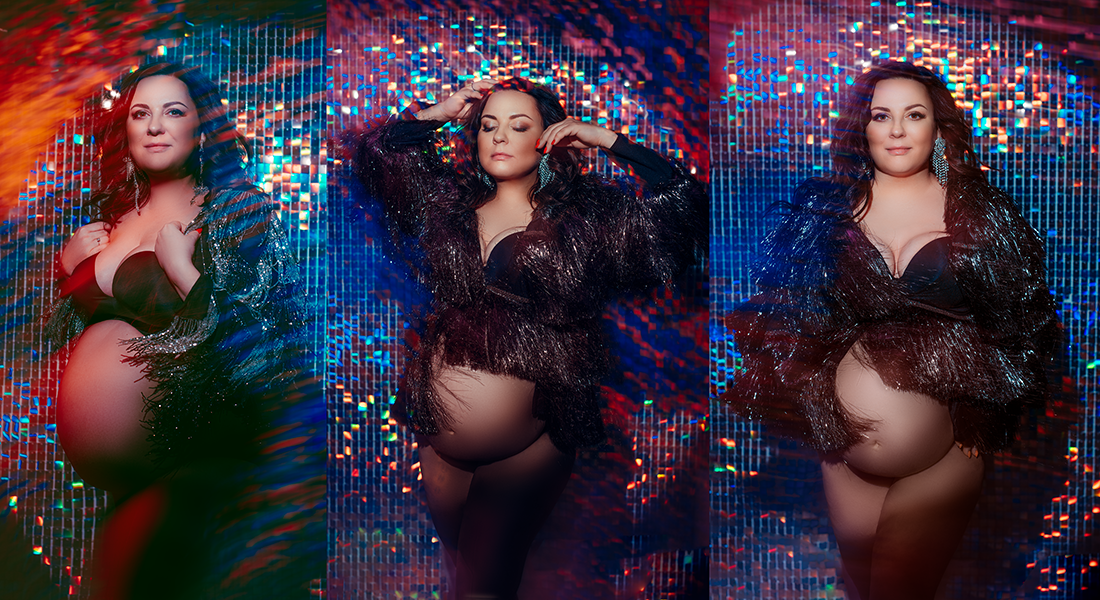
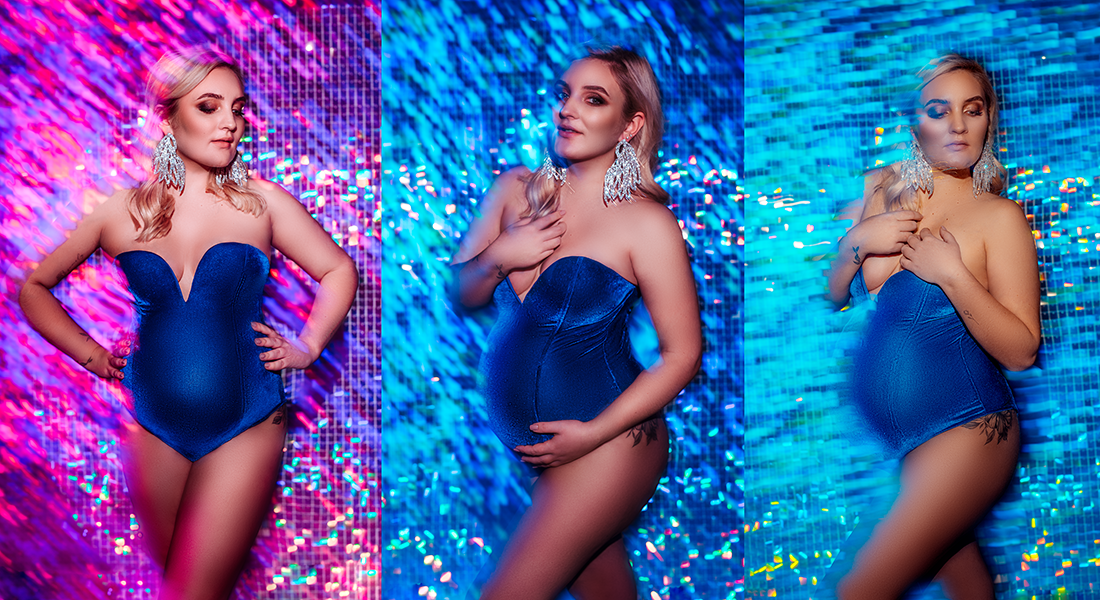
Don’t forget details—if the model leans in too much, it can cause unnecessary compression in the neck and arms, so guide her to keep a soft, natural posture. If you’re working with maternity clients, use the wall as a support while posing the hands around the belly to highlight the shape beautifully. The more you experiment, the more you’ll see how small adjustments can completely transform the energy of the shot.

 386 Google reviews