


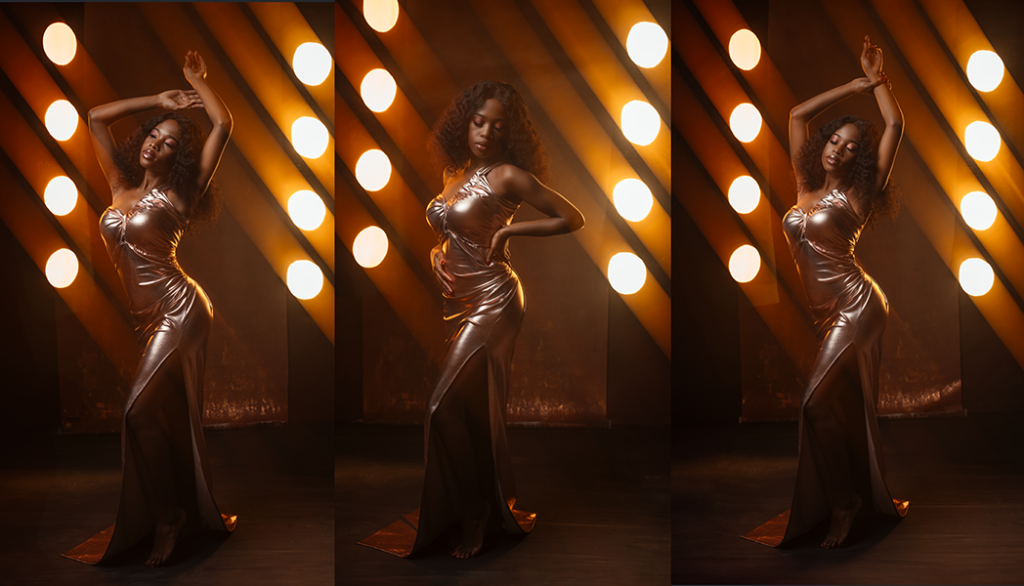
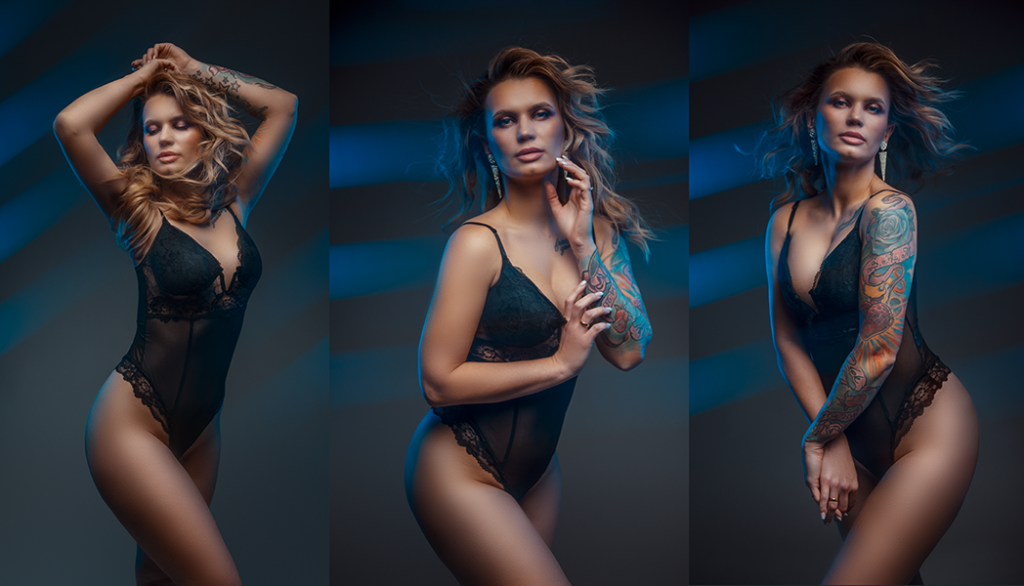
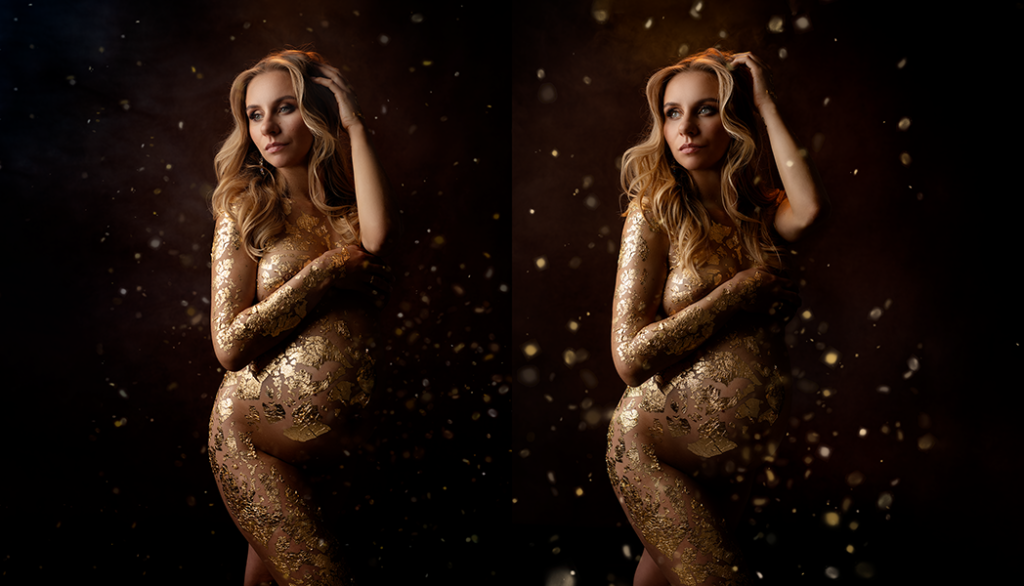
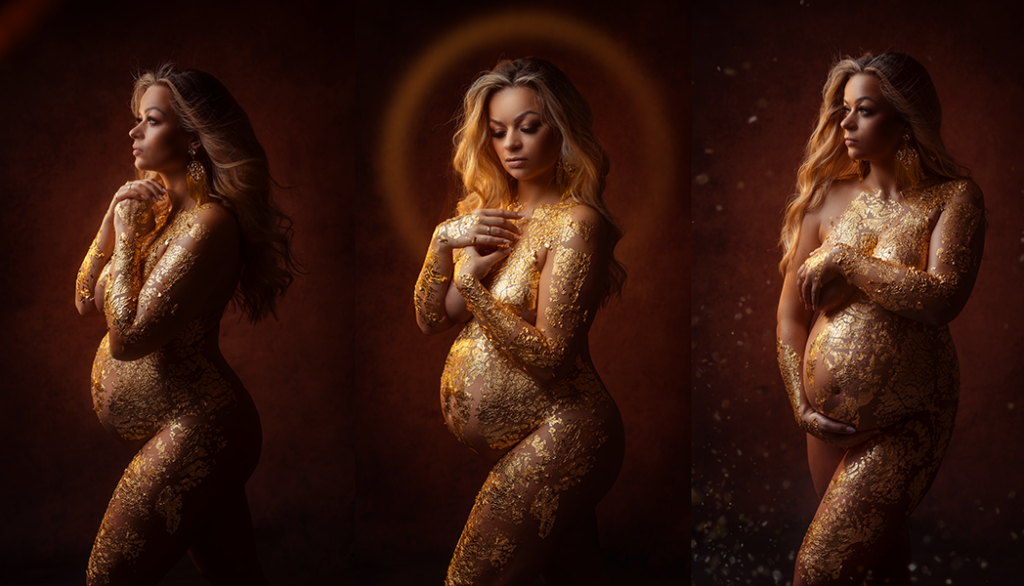
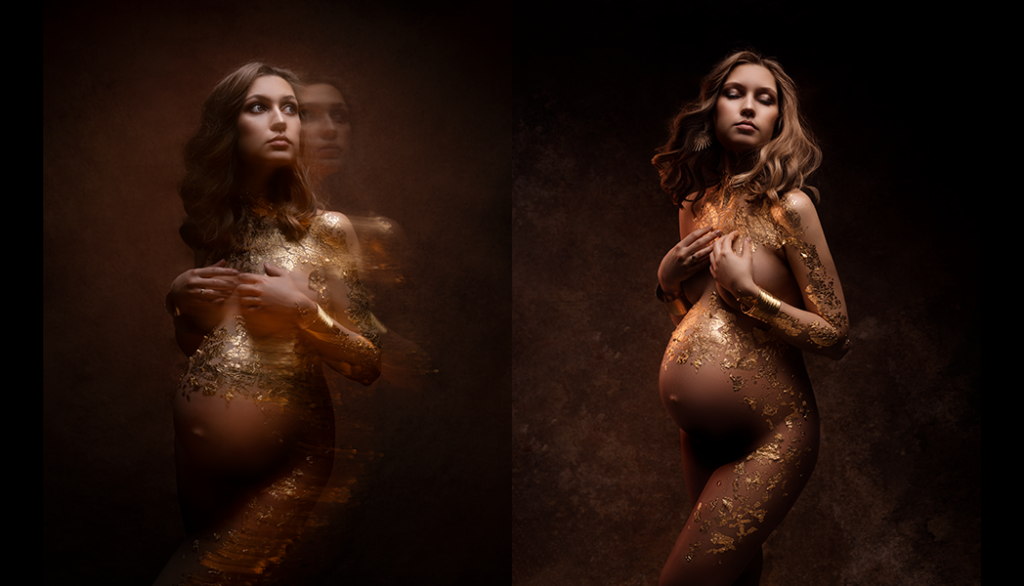
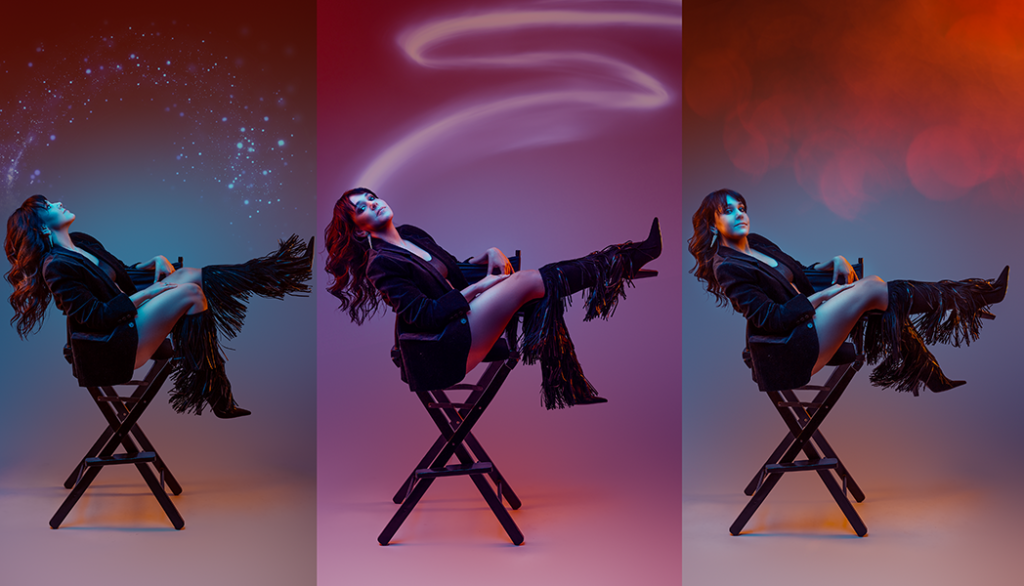
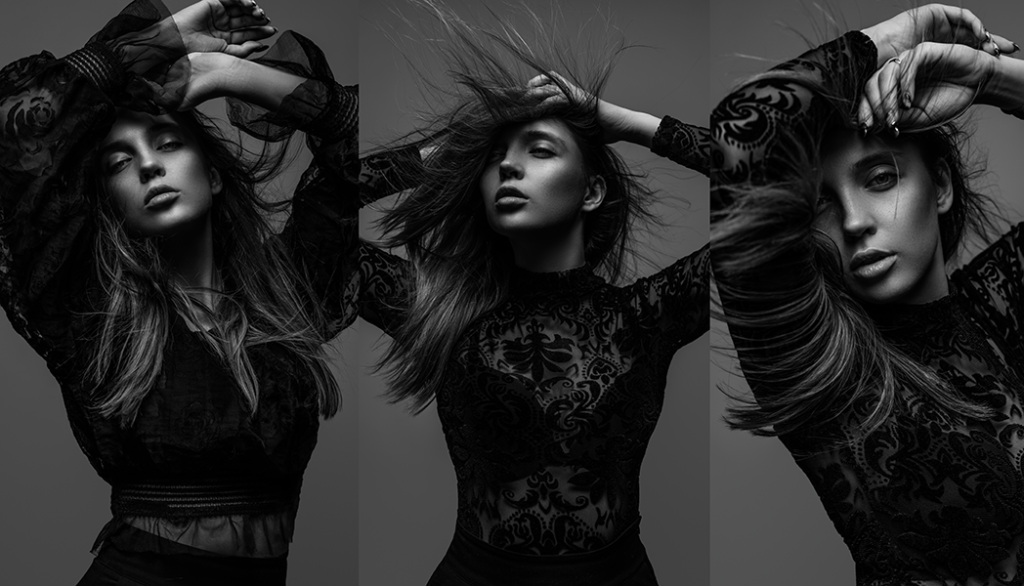
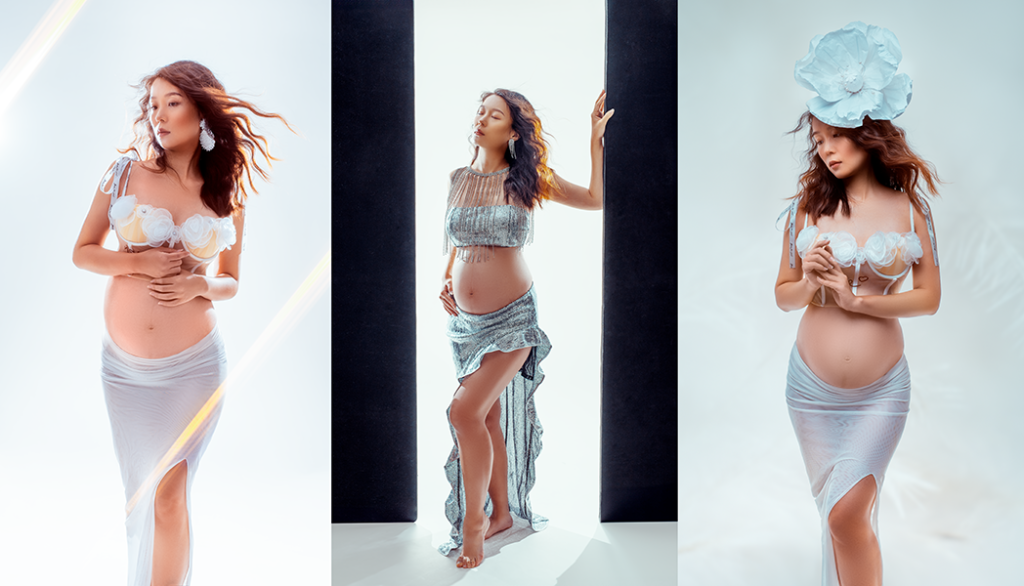
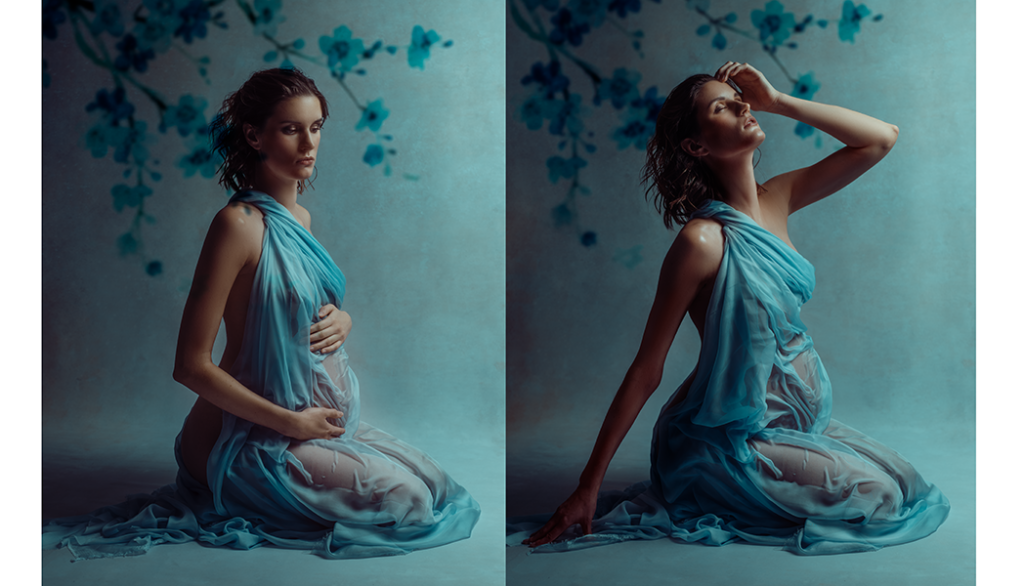
The streaks of light, light dots, the haze… this Hollywood movie style was created fully in camera. It was achieved with 3 lights and a bit of fog from fog machine.
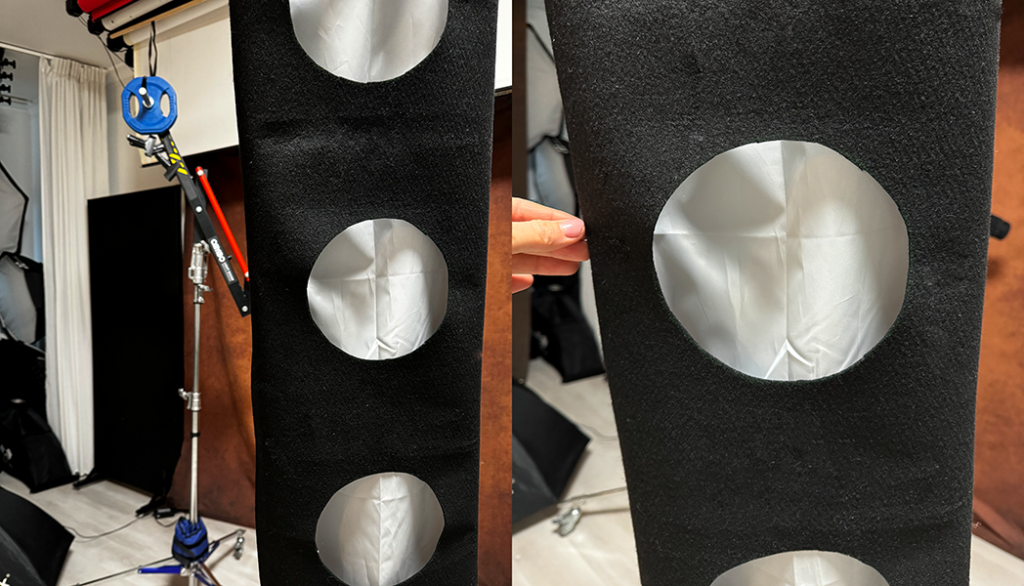
The lighting strikes are produced by 2 strip boxes – they were upgraded with DYI felt covers. So here are some tips, how to make them by yourself (you can buy them as well if you do not have time to do them yourself…).
WHAT YOU NEED is a piece of black fabric at leat 10 cm longer and wider than the size of your strip box. I selected black felt because it is rigid and does not change shape, it is much easier to attach it to the strip box. The only disadvantage of using felt is that all the dust and hair attaches to it easily.
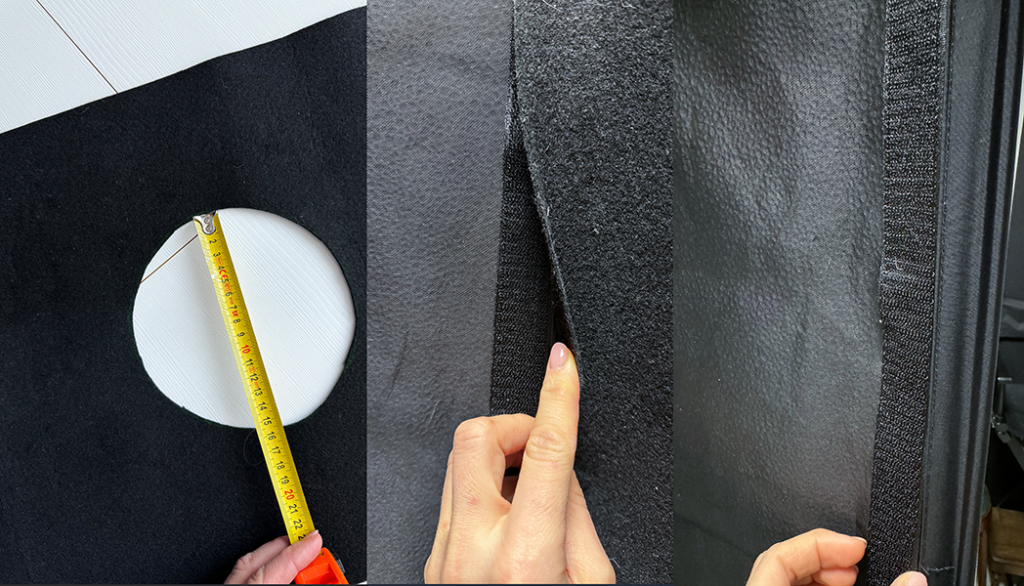
I cut out 4 circles with a diameter of 16 cm. With 16 cm distance between each.
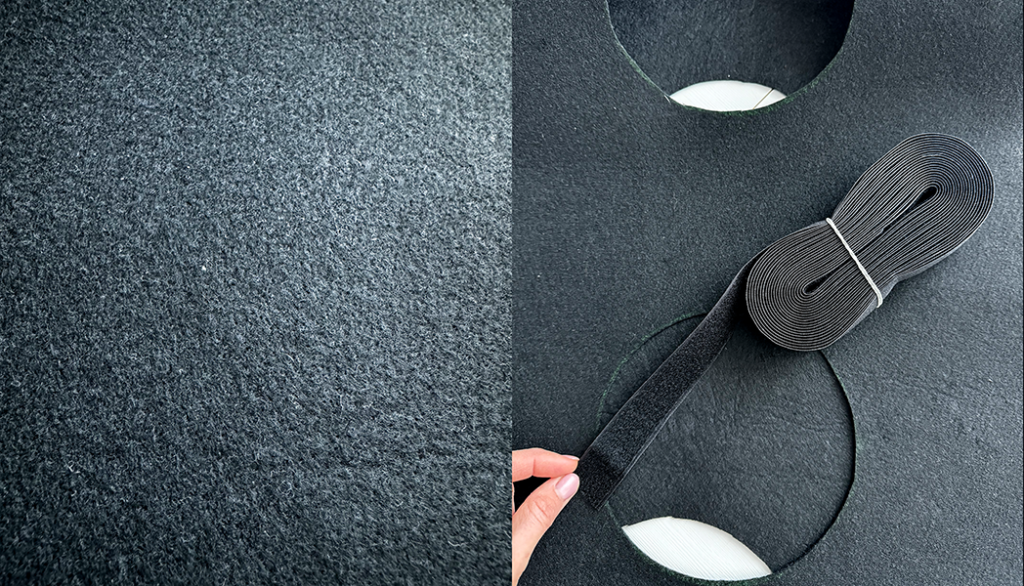
To mount the felt fabric on the strip box, I used velcro – or just one piece of velcro, (cause felt sticks to it easily). The velcro was attached to strip box with hot glue.
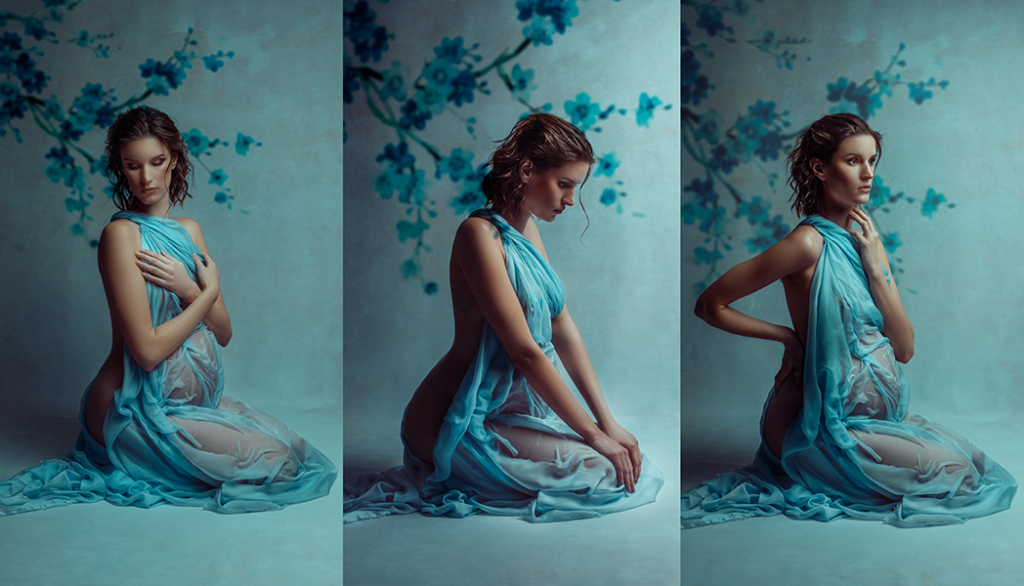
Attach your felt overlay on the strip box and…. enjoy experimenting with studio light!
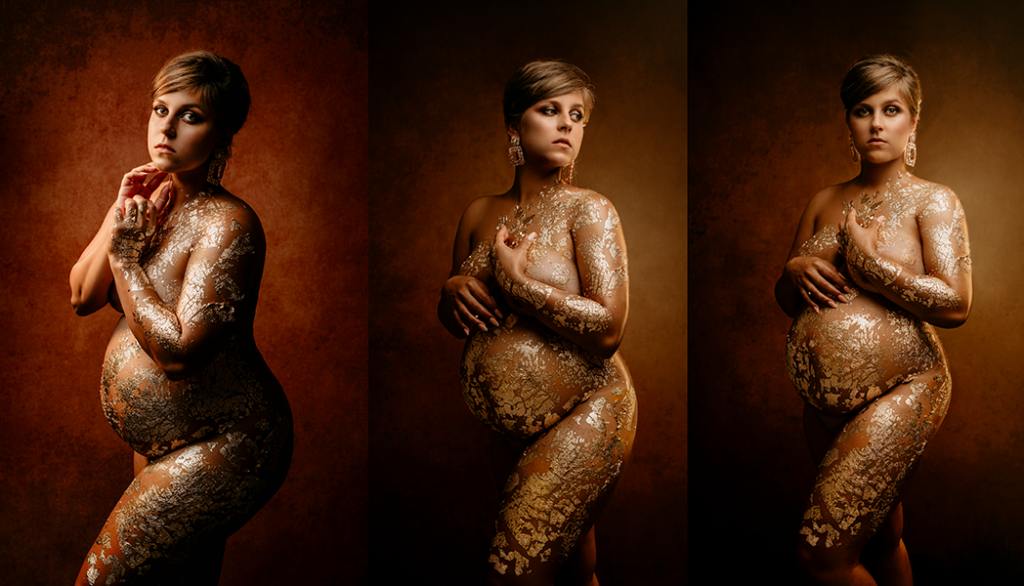
AND IF YOU WANT TO LEARN MORE WITH ME – let me invite you to my maternity and portrait workshops. List of available locations can be found here: MATERNITY AND PORTRAIT PHOTOGRAPHY MASTERCLASS WITH Marta Ponsko.


 386 Google reviews